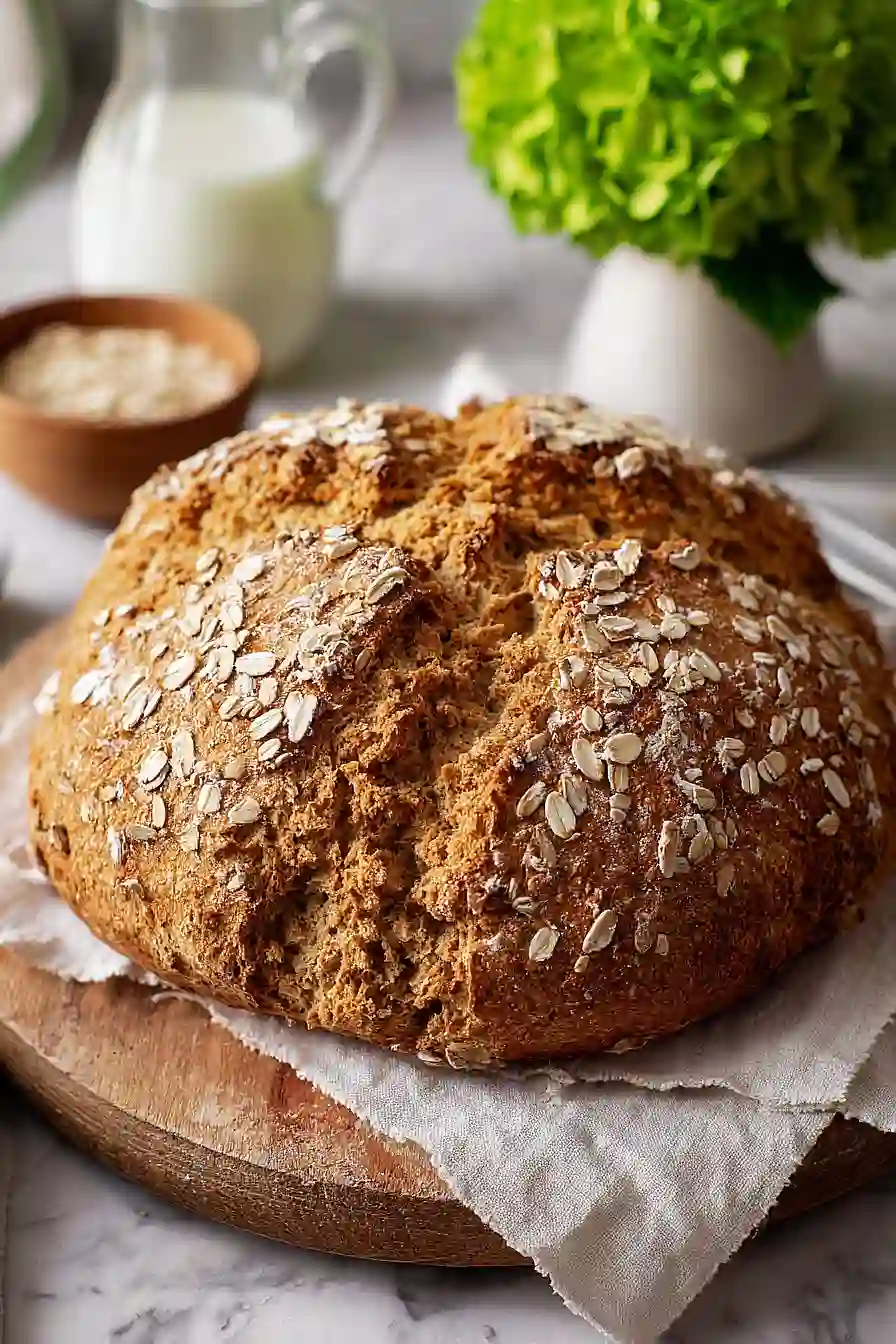
Here is my favorite Irish brown soda bread recipe, with a hearty mix of whole wheat and all-purpose flours, tangy buttermilk, and just a touch of butter to keep it tender and delicious.
This bread is perfect for those days when you want something homemade without all the fuss of working with yeast. I love making it on busy weeknights because it comes together in under an hour, and my family thinks I spent way more time on it than I actually did!
Why You’ll Love This Irish Brown Soda Bread
- No yeast needed – This bread uses baking soda instead of yeast, so there’s no waiting around for dough to rise. You can have fresh, homemade bread on the table in about an hour.
- Simple ingredients – You probably have most of these pantry staples at home already, making this an easy recipe to whip up whenever the craving strikes.
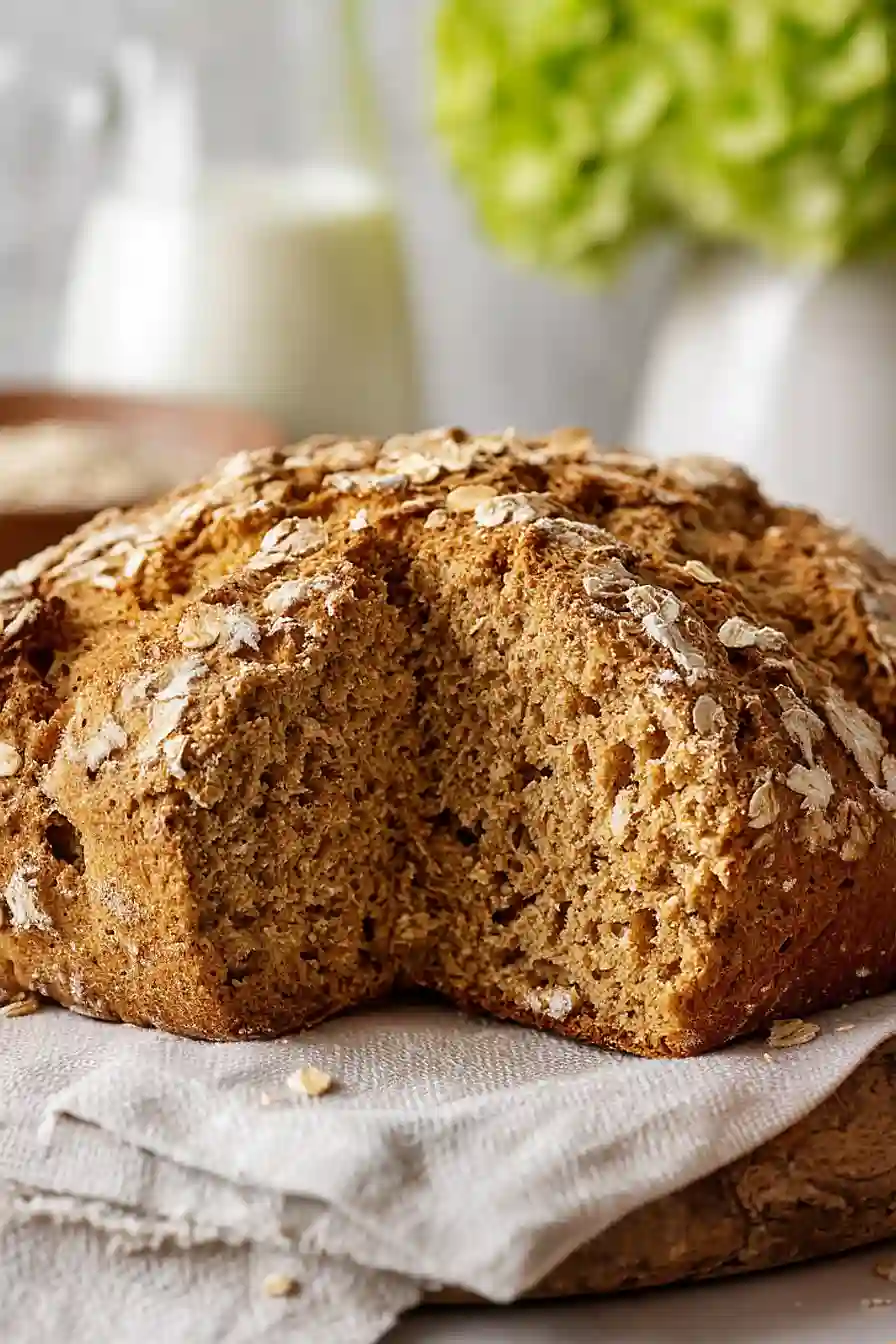
- Hearty and wholesome – The whole wheat flour gives this bread a nutty flavor and rustic texture that pairs perfectly with soups, stews, or just a pat of butter.
- Beginner-friendly – Even if you’ve never baked bread before, this recipe is forgiving and straightforward with minimal kneading required.
What Kind of Flour Should I Use?
This recipe calls for a combination of whole wheat flour and all-purpose flour, which is pretty traditional for Irish brown soda bread. The whole wheat flour gives you that hearty, nutty flavor and darker color that makes this bread so satisfying, while the all-purpose flour keeps it from getting too dense. You can use regular whole wheat flour from any brand at the grocery store – there’s no need to hunt down anything fancy. If you want a slightly lighter loaf, you can swap some of the whole wheat for more all-purpose, but keep in mind you’ll lose a bit of that classic brown bread taste and texture.
Options for Substitutions
While traditional Irish soda bread is pretty straightforward, here are some swaps you can make if needed:
- Whole wheat flour: You can use all-purpose flour instead of whole wheat if that’s what you have. The bread will be lighter in color and texture, but it’ll still taste great. Just use 3 1/2 cups of all-purpose flour total.
- Buttermilk: Don’t have buttermilk? Make your own by adding 1 2/3 tablespoons of white vinegar or lemon juice to regular milk and letting it sit for 5-10 minutes until it curdles slightly.
- Baking soda: This is the key ingredient that makes soda bread work, so don’t substitute it. The baking soda reacts with the buttermilk to help the bread rise without yeast.
- Butter: You can swap butter for coconut oil or vegetable oil if needed, though butter gives the best flavor.
- Rolled oats: The oats are mainly for topping, so you can skip them if you don’t have any. Some people use extra flour for dusting instead.
Watch Out for These Mistakes While Baking
The biggest mistake people make with soda bread is overmixing the dough, which activates too much gluten and turns your bread tough and dense instead of tender – mix just until the ingredients come together, even if it looks a bit shaggy.
Another common error is not cutting the cross deep enough into the top of the loaf, so make sure your knife goes at least halfway through the dough to help it bake evenly and create that classic look.
To check if your bread is done, tap the bottom and listen for a hollow sound rather than relying only on time, since oven temperatures can vary.
Finally, resist the urge to slice into the bread right away – letting it cool for at least 20 minutes prevents it from becoming gummy and makes cutting much cleaner.
What to Serve With Irish Brown Soda Bread?
This hearty bread is perfect for slathering with salted butter while it’s still warm from the oven – honestly, that’s all you really need. It goes great alongside a bowl of Irish stew or any kind of soup, especially on a chilly day when you want something filling and comforting. I also love serving it at breakfast with jam and a cup of strong tea, or toasting thick slices the next day and topping them with scrambled eggs and smoked salmon. The nutty flavor from the whole wheat flour makes it a natural fit for cheese boards too, especially with sharp cheddar and some pickles on the side.
Storage Instructions
Store: Soda bread is best enjoyed within the first day or two, but you can keep it fresh by wrapping it tightly in plastic wrap or storing it in an airtight container at room temperature for up to 3 days. The crust will soften a bit over time, but it still tastes great toasted with butter.
Freeze: This bread freezes really well if you want to make it ahead. Let it cool completely, then wrap it tightly in plastic wrap and aluminum foil before freezing for up to 3 months. You can freeze the whole loaf or slice it first for easier grabbing.
Refresh: To bring your soda bread back to life, thaw it at room temperature if frozen, then warm it in a 350°F oven for about 10 minutes. This helps crisp up the crust again and makes it taste almost fresh-baked. Slices also toast up nicely straight from the freezer.
| Preparation Time | 15-20 minutes |
| Cooking Time | 45-50 minutes |
| Total Time | 60-70 minutes |
| Level of Difficulty | Medium |
| Servings | 8 slices |
Estimated Nutrition
Estimated nutrition for the whole recipe (without optional ingredients):
- Calories: 1350-1500
- Protein: 40-46 g
- Fat: 22-27 g
- Carbohydrates: 260-280 g
Ingredients
For the dough:
- 1 3/4 cups whole wheat flour (I always use King Arthur for a consistent rise)
- 1 3/4 cups all-purpose flour
- 1 1/4 tsp baking soda (sifted to remove any lumps)
- 1 1/4 tsp salt
- 2 1/2 tbsp butter (cold and cut into 1/2-inch cubes)
- 1 large egg
- 1 3/4 cups buttermilk (I prefer Marburger for its thick, creamy texture)
- 1 tsp granulated sugar
For the topping:
- 1 tbsp rolled oats (optional, adds a traditional rustic look)
Step 1: Prepare Your Mise en Place and Preheat
- 2 1/2 tbsp butter
- 1 large egg
- 1 3/4 cups buttermilk
- 1 tsp granulated sugar
Preheat your oven to 425°F and line a baking tray with parchment paper.
Cut the cold butter into ½-inch cubes and set aside—keeping it cold is crucial for creating the tender crumb structure that makes soda bread special.
In a small jug or bowl, whisk together the egg, buttermilk, and sugar until well combined, then set aside.
Have all your ingredients measured and ready before you begin mixing, as soda bread dough should come together quickly.
Step 2: Build the Dry Ingredient Base
- 1 3/4 cups whole wheat flour
- 1 3/4 cups all-purpose flour
- 1 1/4 tsp baking soda
- 1 1/4 tsp salt
In a large mixing bowl, combine the whole wheat flour, all-purpose flour, sifted baking soda, and salt.
Whisk these together thoroughly to distribute the leavening agent evenly throughout—this is important because baking soda needs to be evenly dispersed to give you a consistent rise.
I like to sift the baking soda separately first to eliminate any lumps that could create dense spots in your bread.
Step 3: Cut in the Butter to Create a Crumbly Texture
- dry ingredient mixture from Step 2
- 2 1/2 tbsp butter
Add the cold butter cubes to the dry mixture and use your fingertips to rub the butter into the flour until the mixture resembles coarse breadcrumbs or sand.
This technique keeps the butter cold and distributed throughout, which creates small pockets of steam during baking that give soda bread its characteristic tender, open crumb.
Work quickly and don’t overwork the mixture—you want visible pea-sized pieces of butter remaining.
Step 4: Combine and Form the Dough
- dry ingredient mixture with butter from Step 3
- egg and buttermilk mixture from Step 1
Pour the egg and buttermilk mixture from Step 1 into the dry ingredients and stir gently with a wooden spoon or fork just until a soft, shaggy dough forms—do not overwork the dough or knead it, as this will make the bread tough and dense.
The dough should be sticky and slightly wetter than regular bread dough, which is normal.
Turn the dough out onto a lightly floured surface and gently shape it into an 8-inch circle about 1½ inches thick, being careful not to compress it too much.
Step 5: Score and Prepare for Baking
- shaped dough from Step 4
- 1 tbsp rolled oats
Transfer the shaped dough to your prepared baking tray.
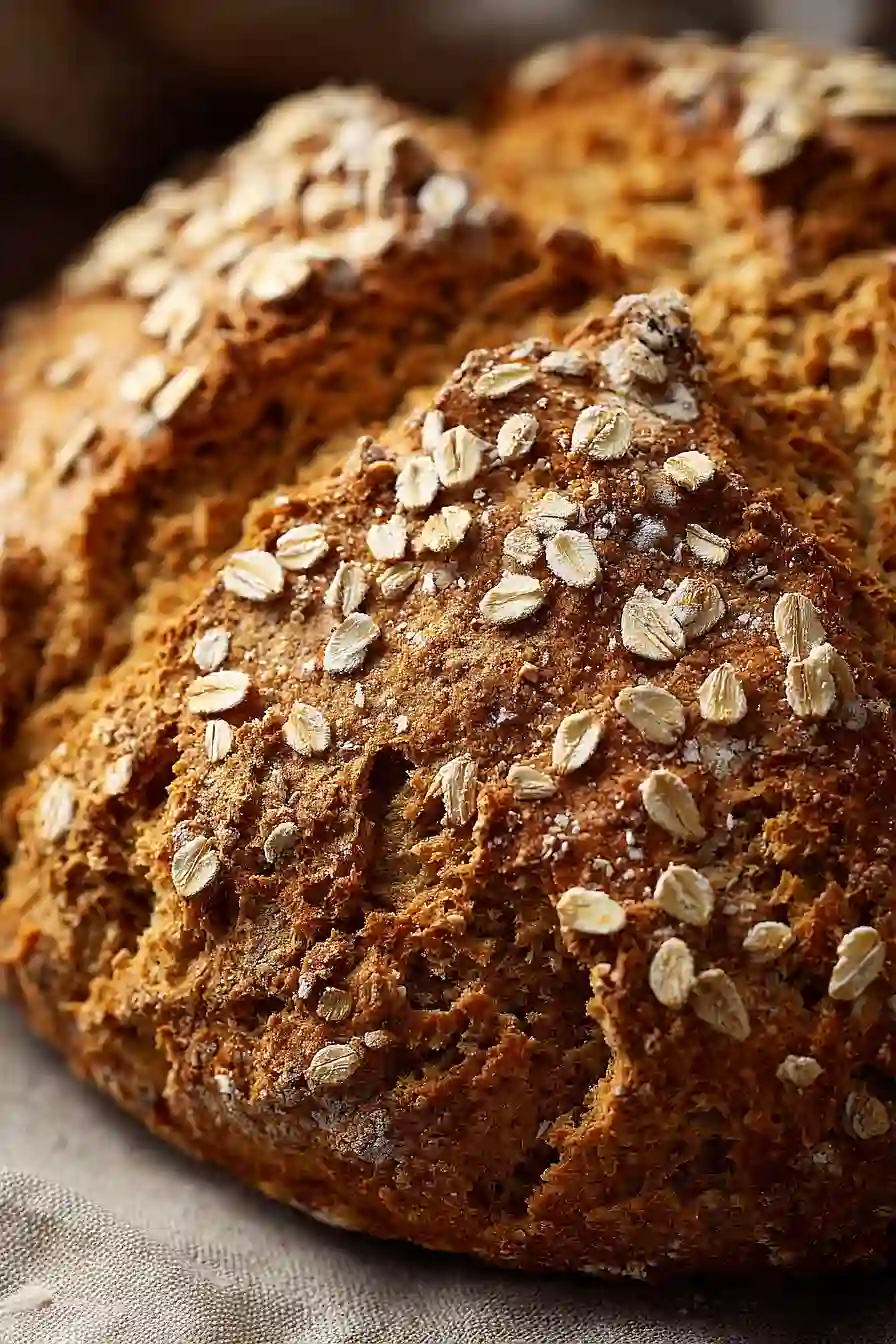
Using a sharp knife, cut a deep cross (about ½ inch deep) into the top of the loaf from edge to edge—this traditional scoring helps the bread rise evenly and creates those characteristic quarters.
Then poke a small hole in the center of each quarter; these holes allow steam to escape evenly and help with even baking.
Brush the top of the loaf lightly with buttermilk and sprinkle with rolled oats if using for that rustic, traditional appearance.
Step 6: Bake in Two Stages for Even Browning
Bake at 425°F for 15 minutes until the top begins to turn golden brown.
Then reduce the oven temperature to 400°F and continue baking for 30 minutes more, until the bread is deep golden brown and sounds hollow when tapped on the bottom.
The initial high heat sets the crust and helps the bread rise quickly, while the lower heat allows the interior to cook through without over-browning the outside.
Step 7: Cool and Serve
Transfer the baked soda bread to a wire cooling rack and let it cool for at least 15-20 minutes before slicing.
This resting time allows the crumb to set properly and makes slicing much cleaner.
Serve warm or at room temperature with butter, jam, or your favorite spread.
Traditional Irish Brown Soda Bread
Ingredients
Method
- Preheat your oven to 425°F and line a baking tray with parchment paper. Cut the cold butter into ½-inch cubes and set aside—keeping it cold is crucial for creating the tender crumb structure that makes soda bread special. In a small jug or bowl, whisk together the egg, buttermilk, and sugar until well combined, then set aside. Have all your ingredients measured and ready before you begin mixing, as soda bread dough should come together quickly.
- In a large mixing bowl, combine the whole wheat flour, all-purpose flour, sifted baking soda, and salt. Whisk these together thoroughly to distribute the leavening agent evenly throughout—this is important because baking soda needs to be evenly dispersed to give you a consistent rise. I like to sift the baking soda separately first to eliminate any lumps that could create dense spots in your bread.
- Add the cold butter cubes to the dry mixture and use your fingertips to rub the butter into the flour until the mixture resembles coarse breadcrumbs or sand. This technique keeps the butter cold and distributed throughout, which creates small pockets of steam during baking that give soda bread its characteristic tender, open crumb. Work quickly and don't overwork the mixture—you want visible pea-sized pieces of butter remaining.
- Pour the egg and buttermilk mixture from Step 1 into the dry ingredients and stir gently with a wooden spoon or fork just until a soft, shaggy dough forms—do not overwork the dough or knead it, as this will make the bread tough and dense. The dough should be sticky and slightly wetter than regular bread dough, which is normal. Turn the dough out onto a lightly floured surface and gently shape it into an 8-inch circle about 1½ inches thick, being careful not to compress it too much.
- Transfer the shaped dough to your prepared baking tray. Using a sharp knife, cut a deep cross (about ½ inch deep) into the top of the loaf from edge to edge—this traditional scoring helps the bread rise evenly and creates those characteristic quarters. Then poke a small hole in the center of each quarter; these holes allow steam to escape evenly and help with even baking. Brush the top of the loaf lightly with buttermilk and sprinkle with rolled oats if using for that rustic, traditional appearance.
- Bake at 425°F for 15 minutes until the top begins to turn golden brown. Then reduce the oven temperature to 400°F and continue baking for 30 minutes more, until the bread is deep golden brown and sounds hollow when tapped on the bottom. The initial high heat sets the crust and helps the bread rise quickly, while the lower heat allows the interior to cook through without over-browning the outside.
- Transfer the baked soda bread to a wire cooling rack and let it cool for at least 15-20 minutes before slicing. This resting time allows the crumb to set properly and makes slicing much cleaner. Serve warm or at room temperature with butter, jam, or your favorite spread.