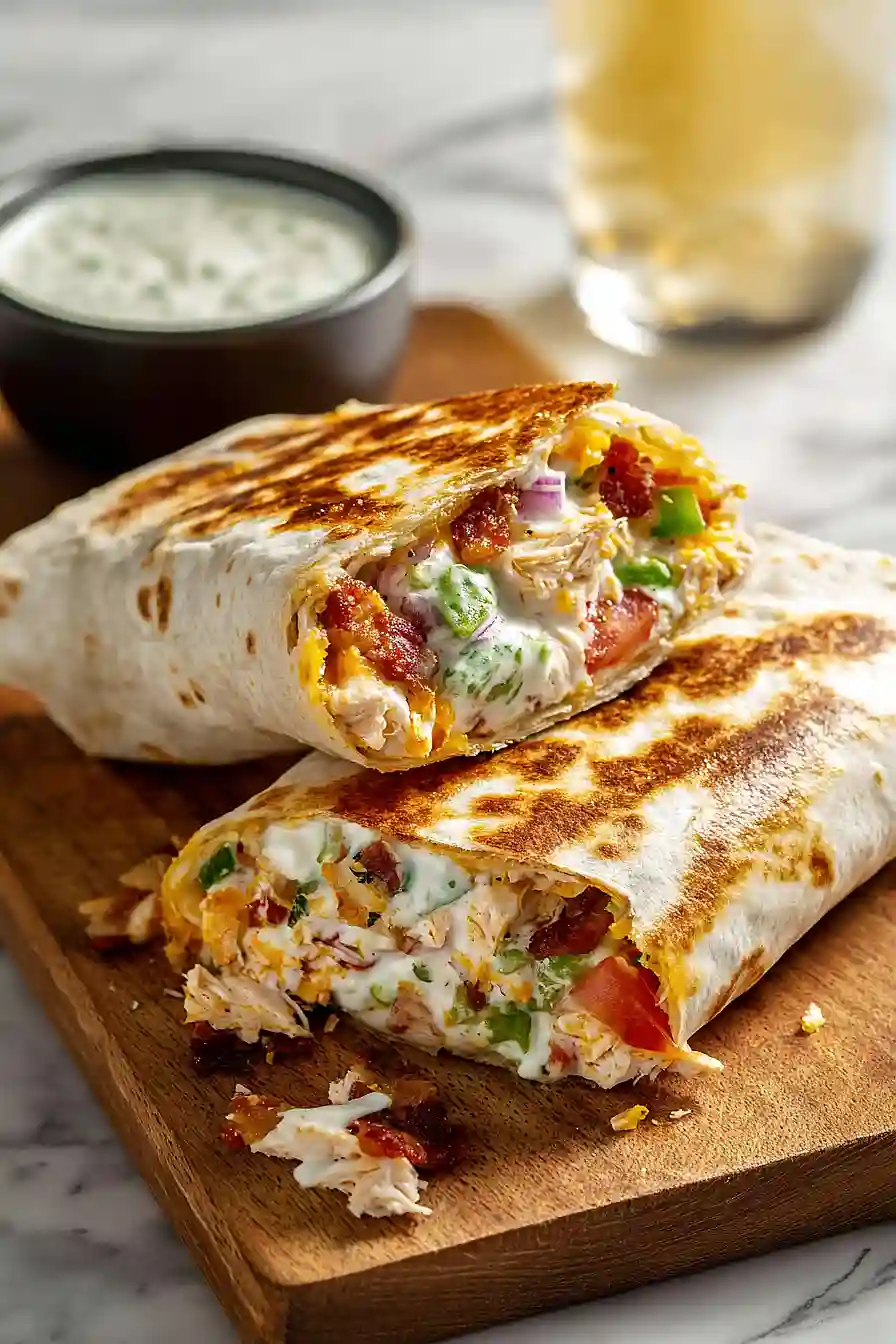
While your tortillas warm, prepare all fresh components to streamline assembly. Dice the tomato into bite-sized pieces, thinly slice the red onion, slice the green onion into rings, shred the romaine lettuce, and mince the fresh jalapeños after removing their seeds. I like to do all my vegetable prep on one cutting board, working quickly so the vegetables stay crisp and cold.
Warm the flour tortillas according to package directions—either wrapped in a damp towel in the microwave for 30-45 seconds or briefly on a skillet over medium heat. While they warm, transfer the jalapeño popper chicken dip to a bowl and stir in the sour cream to slightly loosen the mixture, making it easier to spread without tearing the delicate tortillas.
Lay a warm tortilla on a clean surface. Spread approximately 1/2 cup of the sour cream-dip mixture down the center third of the tortilla, leaving space on the sides. Layer the fresh ingredients on top in this order: shredded romaine, diced tomato, red onion, minced fresh jalapeño, and green onion. I find this order creates the best texture contrast—the lettuce acts as a barrier so the warm dip doesn't make the vegetables soggy too quickly.
Fold in the left and right sides of the tortilla first, then roll the bottom edge up and over the filling, rolling away from you to create a tight burrito. Place seam-side down on a preheated grill pan or skillet over medium-high heat for 1-2 minutes per side until golden brown and crispy, which adds textural contrast and helps seal the wrap. This step is optional but highly recommended—the searing gives the wrap a professional finish and makes it easier to hold.