I didn’t discover the Instant Pot until my mid-thirties, and honestly, I don’t know how I survived weeknight dinners without it. Before that, teriyaki chicken meant either takeout or standing over the stove for way longer than I had patience for after a long day.
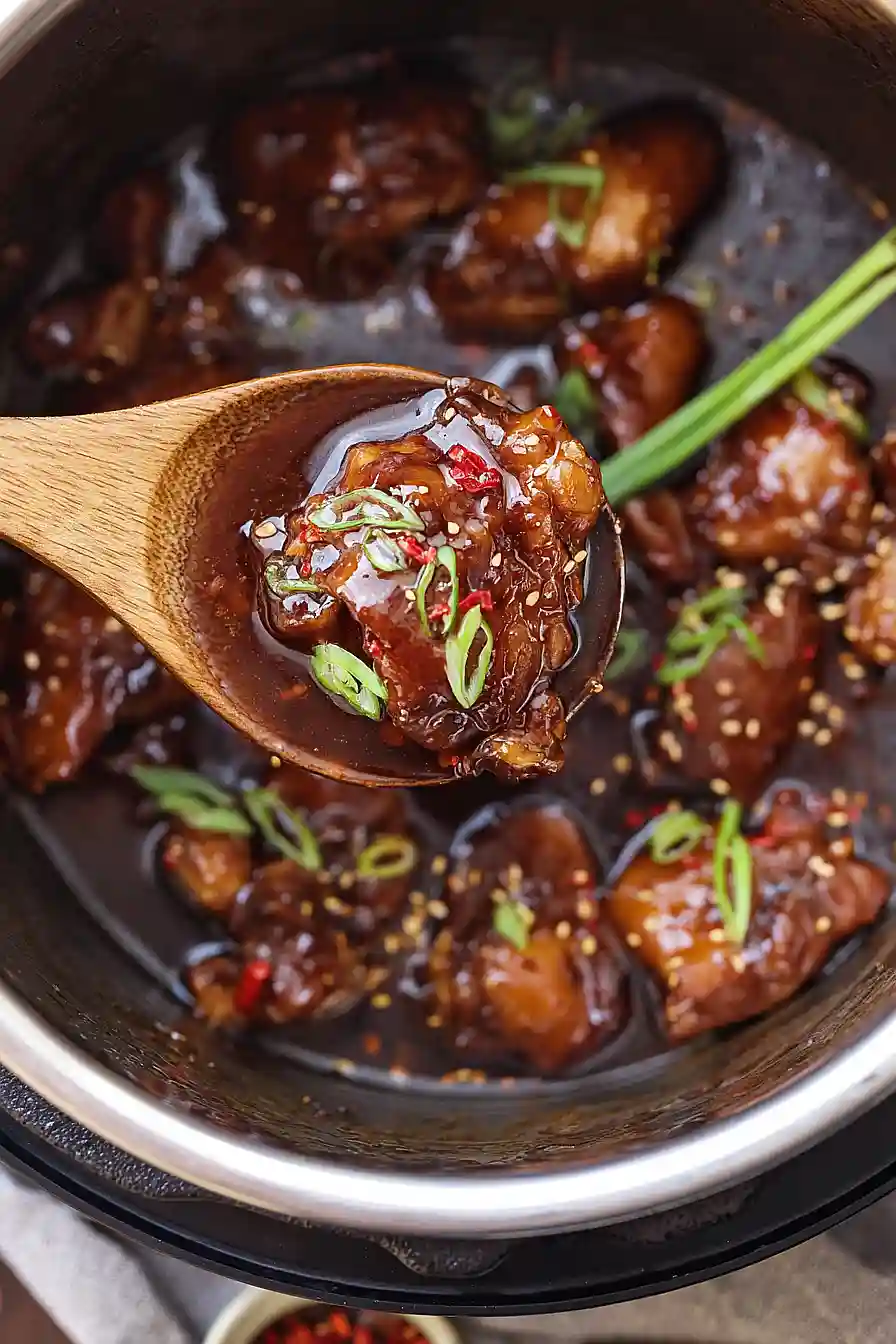
This Instant Pot version changed everything. You literally dump your sauce ingredients in, add the chicken, and let the machine do its thing. No standing, no stirring, no watching the clock. The pressure cooker gets the chicken perfectly tender while the sauce comes together, and a quick cornstarch slurry at the end gives you that glossy, restaurant-style finish. It’s become my go-to when I need dinner on the table fast but still want something that tastes like I put in real effort.
Why You’ll Love This Teriyaki Chicken
- Quick weeknight dinner – Ready in just 25-35 minutes, this Instant Pot teriyaki chicken is perfect for busy evenings when you need something fast but delicious.
- Restaurant-quality flavor at home – The homemade teriyaki sauce with fresh ginger and garlic tastes so much better than takeout, and you know exactly what’s going into it.
- Tender, juicy chicken every time – Pressure cooking the chicken thighs keeps them incredibly moist and flavorful, so you don’t have to worry about dry meat.
- Simple ingredients – You probably have most of these pantry staples on hand already, making this an easy go-to recipe.
- Minimal cleanup – Everything cooks in one pot, which means less time scrubbing dishes and more time enjoying your meal.
What Kind of Chicken Should I Use?
Boneless, skinless chicken thighs are really the way to go for this recipe because they stay moist and tender in the Instant Pot, even if you accidentally cook them a bit longer than planned. You can use chicken breasts if that’s what you have on hand, but they tend to dry out more easily and don’t soak up the teriyaki sauce quite as well. If you do go with breasts, try to find smaller ones or cut larger ones in half so they cook evenly. Fresh or frozen chicken both work fine here – just add a few extra minutes to the cooking time if you’re starting with frozen, and make sure the pieces aren’t stuck together in a big clump.
Options for Substitutions
This teriyaki chicken recipe is pretty forgiving when it comes to swaps:
- Chicken thighs: You can use chicken breasts instead, but reduce the cooking time by a few minutes since they cook faster and can dry out. Thighs stay juicier though, so they’re really the better choice here.
- Honey: Brown sugar or maple syrup work great as sweeteners. Use the same amount, though maple syrup will give it a slightly different flavor profile.
- Rice vinegar: Apple cider vinegar or white wine vinegar can step in if needed. Start with 1 1/2 tablespoons and taste, as they can be a bit sharper than rice vinegar.
- Fresh ginger: In a pinch, use 1/2 teaspoon of ground ginger, but fresh really does make a difference in this recipe, so grab some if you can.
- Cornstarch: Arrowroot powder works as a 1:1 swap for thickening. Flour can work too, but you’ll need about 6 tablespoons and the sauce won’t be quite as glossy.
- Low-sodium soy sauce: Regular soy sauce is fine, but you might want to add an extra tablespoon of water to balance the saltiness. Tamari works perfectly if you need a gluten-free option.
Watch Out for These Mistakes While Cooking
The biggest mistake people make with Instant Pot teriyaki chicken is releasing the pressure too quickly, which can make the chicken tough and stringy – always let it naturally release for at least 5 minutes before venting to keep the meat tender. Another common error is adding the cornstarch slurry while the sauce is bubbling too vigorously, which creates lumps, so make sure to stir it into the sauce while it’s at a gentle simmer on the sauté setting. Don’t skip removing the chicken before thickening the sauce, as this step ensures the sauce reduces evenly and coats the chicken better when you add it back in. Finally, if your sauce seems too thick after adding the cornstarch mixture, you can thin it out with a tablespoon of water at a time until it reaches your desired consistency.
What to Serve With Teriyaki Chicken?
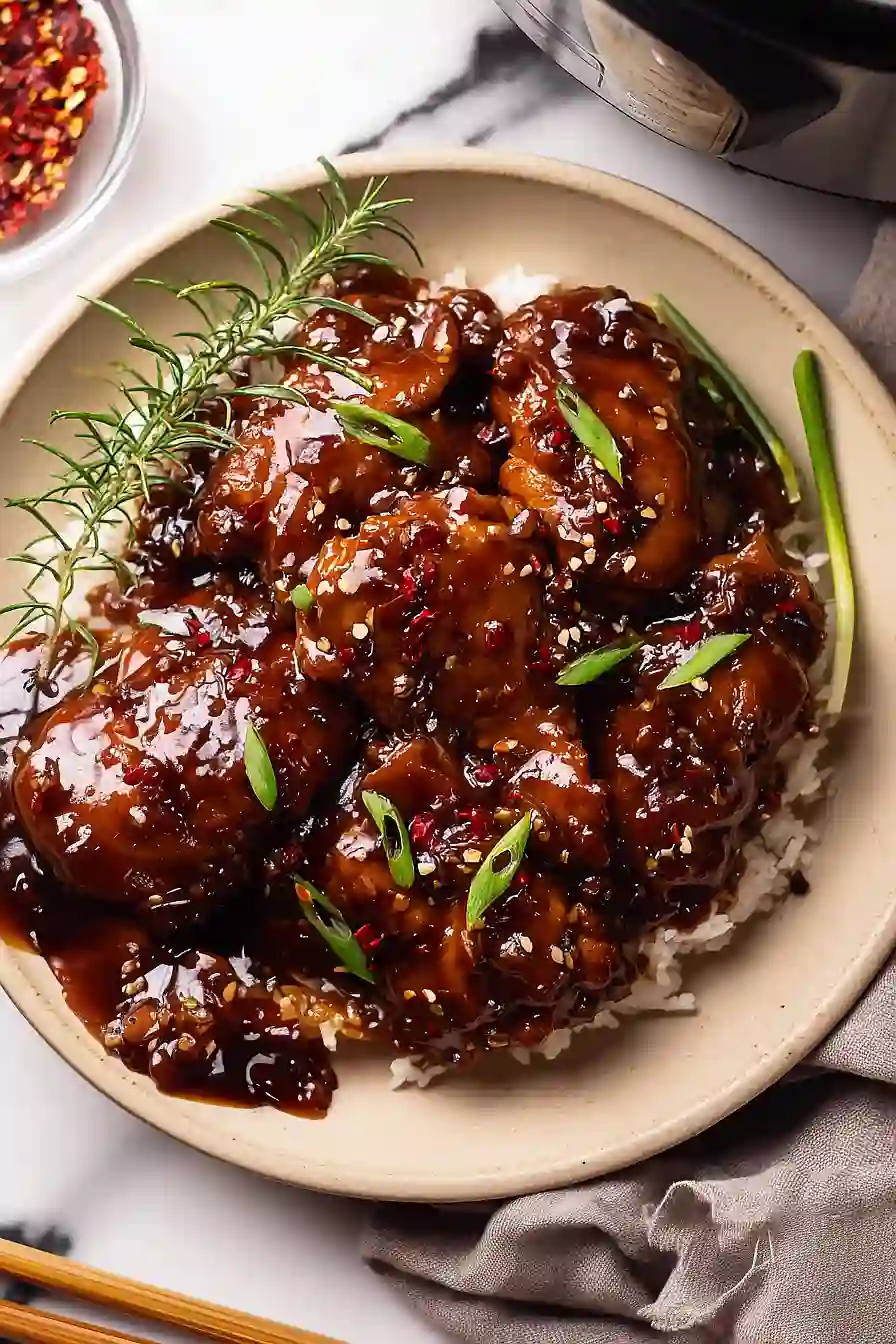
I always serve teriyaki chicken over a big bowl of steamed white rice or brown rice – it’s perfect for soaking up all that sweet and savory sauce. Steamed broccoli or snap peas on the side add a nice crunch and balance out the richness of the chicken. If you want to make it more of a complete meal, try adding some stir-fried vegetables like bell peppers, carrots, and mushrooms, or serve it with a simple cucumber salad dressed with rice vinegar. For something different, you can even shred the chicken and use it in lettuce wraps or over noodles like udon or ramen.
Storage Instructions
Store: Keep your leftover teriyaki chicken in an airtight container in the fridge for up to 4 days. The sauce actually gets even better as it sits, so this is a great one to make ahead for meal prep throughout the week.
Freeze: This chicken freezes really well for up to 3 months. Let it cool completely, then portion it out into freezer-safe containers or bags with the sauce. I like to freeze individual portions so I can grab just what I need for a quick dinner.
Reheat: Warm it up in the microwave on medium power, stirring occasionally, or heat it gently on the stovetop over low heat. If the sauce seems too thick after reheating, just add a splash of water and stir until it loosens up to your liking.
| Preparation Time | 10-15 minutes |
| Cooking Time | 15-20 minutes |
| Total Time | 25-35 minutes |
| Level of Difficulty | Easy |
| Servings | 5 servings |
Estimated Nutrition
Estimated nutrition for the whole recipe (without optional ingredients):
- Calories: 1750-2000
- Protein: 185-210 g
- Fat: 50-65 g
- Carbohydrates: 110-130 g
Ingredients
For the chicken and marinade:
- 2.5 lb chicken thighs (cut into 1-inch pieces for even cooking)
- 1/2 cup soy sauce (I always use Kikkoman for the best salt balance)
- 1/3 cup honey
- 3 tbsp rice vinegar
- 2 tbsp water
- 5 cloves garlic (freshly minced for better flavor)
- 2.5 tbsp ginger
- 1/2 tsp red pepper flakes
- 1 tsp toasted sesame oil
For the sauce thickener:
- 3.5 tbsp cornstarch (I prefer Argo to ensure a smooth, glossy sauce)
- 3.5 tbsp water
- 2 sprigs green onions, sliced (for garnish)
Step 1: Prepare Ingredients and Build the Teriyaki Base
- 2.5 lb chicken thighs, cut into 1-inch pieces
- 5 cloves garlic, freshly minced
- 2.5 tbsp ginger, minced
- 1/2 cup soy sauce
- 1/3 cup honey
- 3 tbsp rice vinegar
- 2 tbsp water
- 1/2 tsp red pepper flakes
- 1 tsp toasted sesame oil
Start by cutting the chicken thighs into 1-inch pieces—uniform sizing ensures they cook evenly under pressure.
While prepping the chicken, mince the garlic fresh and measure out all your teriyaki sauce components: soy sauce, honey, rice vinegar, water, ginger, red pepper flakes, and sesame oil.
Whisk these together in a bowl to create your sauce base.
I always use fresh garlic and ginger rather than jarred versions because the flavor is noticeably brighter and more aromatic in the final dish.
Step 2: Pressure Cook the Chicken
- chicken from Step 1
- teriyaki sauce mixture from Step 1
Add the cut chicken pieces to your Instant Pot and pour the teriyaki sauce mixture from Step 1 over the top, stirring gently to coat the chicken evenly.
Lock the lid and set the pot to cook on HIGH pressure for 10 minutes.
This high-pressure environment breaks down the connective tissue in the thighs while the sauce infuses the meat with flavor.
Step 3: Release Pressure and Prepare for Sauce Thickening
- cooked chicken and sauce from Step 2
Once the timer beeps, allow the pressure to release naturally for 5 minutes (don’t rush this—it helps the chicken stay tender), then carefully vent any remaining steam using the quick-release valve.
Open the lid and use a slotted spoon to transfer the cooked chicken to a serving bowl, leaving the sauce in the pot.
Set the Instant Pot to SAUTE mode to prepare for thickening the sauce.
Step 4: Thicken the Sauce to a Glossy Finish
- 3.5 tbsp cornstarch
- 3.5 tbsp water
While the sauce comes to a gentle simmer, whisk together the cornstarch and water in a small bowl to create a slurry with no lumps.
Pour this mixture slowly into the simmering sauce while stirring constantly to prevent clumping.
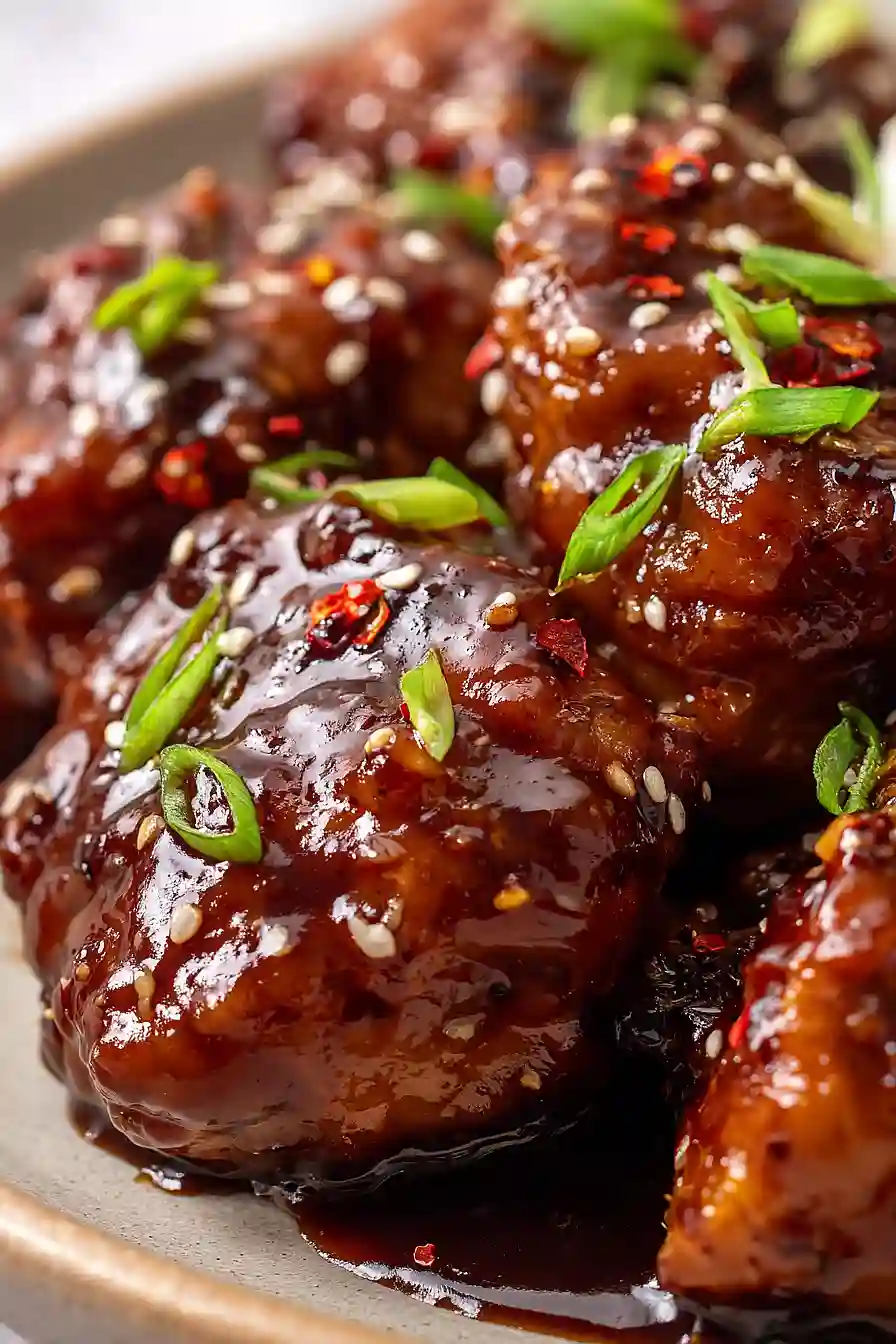
I prefer Argo cornstarch because it creates an exceptionally smooth, glossy sauce without any graininess.
Continue cooking for 1-2 minutes, stirring frequently, until the sauce reaches your desired thickness and coats the back of a spoon.
Step 5: Combine and Serve
- cooked chicken from Step 3
- thickened sauce from Step 4
- 2 sprigs green onions, sliced
Return the cooked chicken to the pot with the thickened sauce and stir gently to coat every piece.
Turn off the heat.
Serve the teriyaki chicken over steamed rice, in buns, or over noodles as desired.
Garnish with the sliced green onions just before serving to add freshness and a subtle onion bite that balances the sweet teriyaki sauce.
Tasty Instant Pot Teriyaki Chicken
Ingredients
Method
- Start by cutting the chicken thighs into 1-inch pieces—uniform sizing ensures they cook evenly under pressure. While prepping the chicken, mince the garlic fresh and measure out all your teriyaki sauce components: soy sauce, honey, rice vinegar, water, ginger, red pepper flakes, and sesame oil. Whisk these together in a bowl to create your sauce base. I always use fresh garlic and ginger rather than jarred versions because the flavor is noticeably brighter and more aromatic in the final dish.
- Add the cut chicken pieces to your Instant Pot and pour the teriyaki sauce mixture from Step 1 over the top, stirring gently to coat the chicken evenly. Lock the lid and set the pot to cook on HIGH pressure for 10 minutes. This high-pressure environment breaks down the connective tissue in the thighs while the sauce infuses the meat with flavor.
- Once the timer beeps, allow the pressure to release naturally for 5 minutes (don't rush this—it helps the chicken stay tender), then carefully vent any remaining steam using the quick-release valve. Open the lid and use a slotted spoon to transfer the cooked chicken to a serving bowl, leaving the sauce in the pot. Set the Instant Pot to SAUTE mode to prepare for thickening the sauce.
- While the sauce comes to a gentle simmer, whisk together the cornstarch and water in a small bowl to create a slurry with no lumps. Pour this mixture slowly into the simmering sauce while stirring constantly to prevent clumping. I prefer Argo cornstarch because it creates an exceptionally smooth, glossy sauce without any graininess. Continue cooking for 1-2 minutes, stirring frequently, until the sauce reaches your desired thickness and coats the back of a spoon.
- Return the cooked chicken to the pot with the thickened sauce and stir gently to coat every piece. Turn off the heat. Serve the teriyaki chicken over steamed rice, in buns, or over noodles as desired. Garnish with the sliced green onions just before serving to add freshness and a subtle onion bite that balances the sweet teriyaki sauce.