Finding a healthier alternative to store-bought candy that your kids will actually enjoy can feel like an uphill battle. After all, most homemade treats either don’t taste quite right, require fancy equipment you don’t own, or involve so many steps that you give up halfway through.
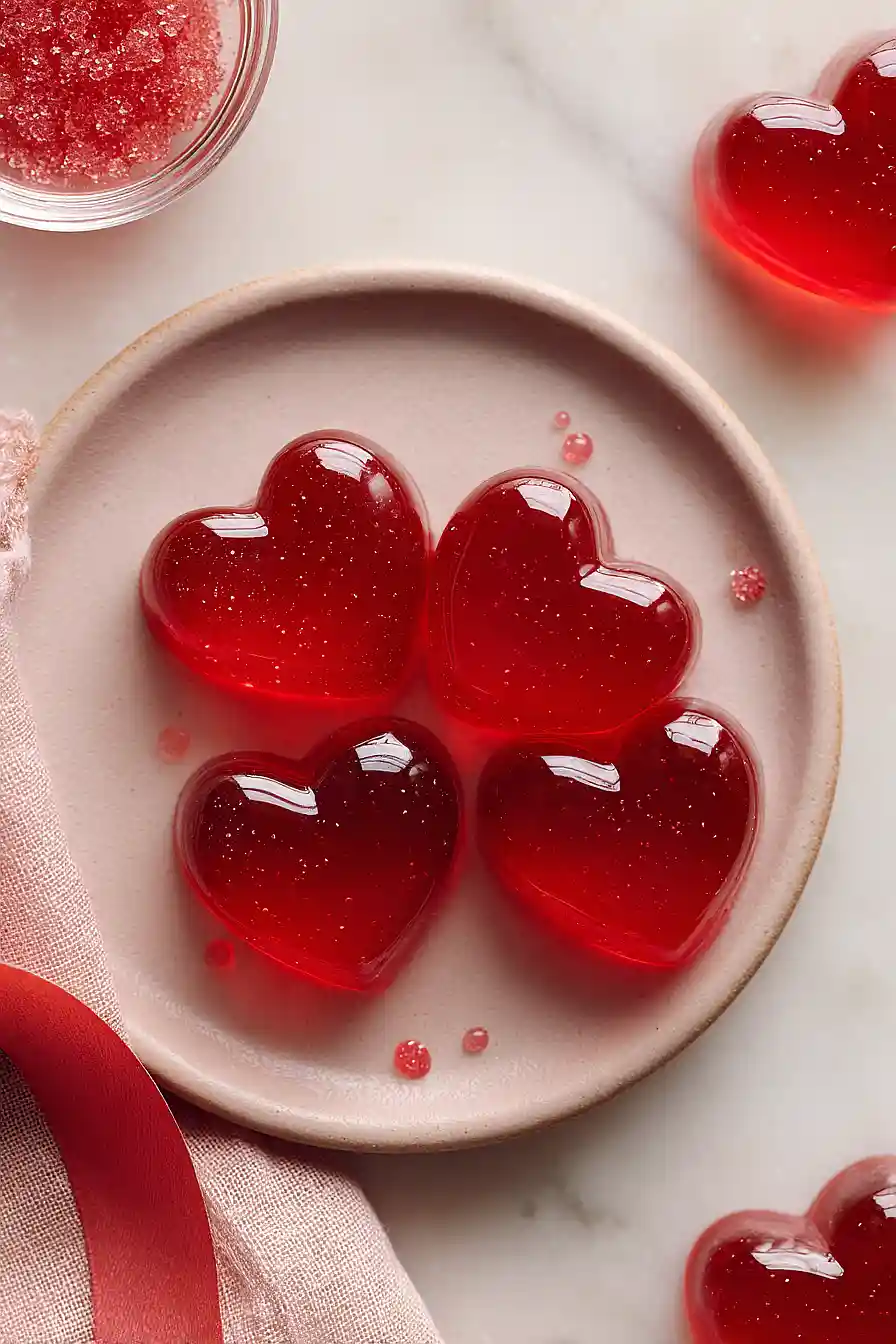
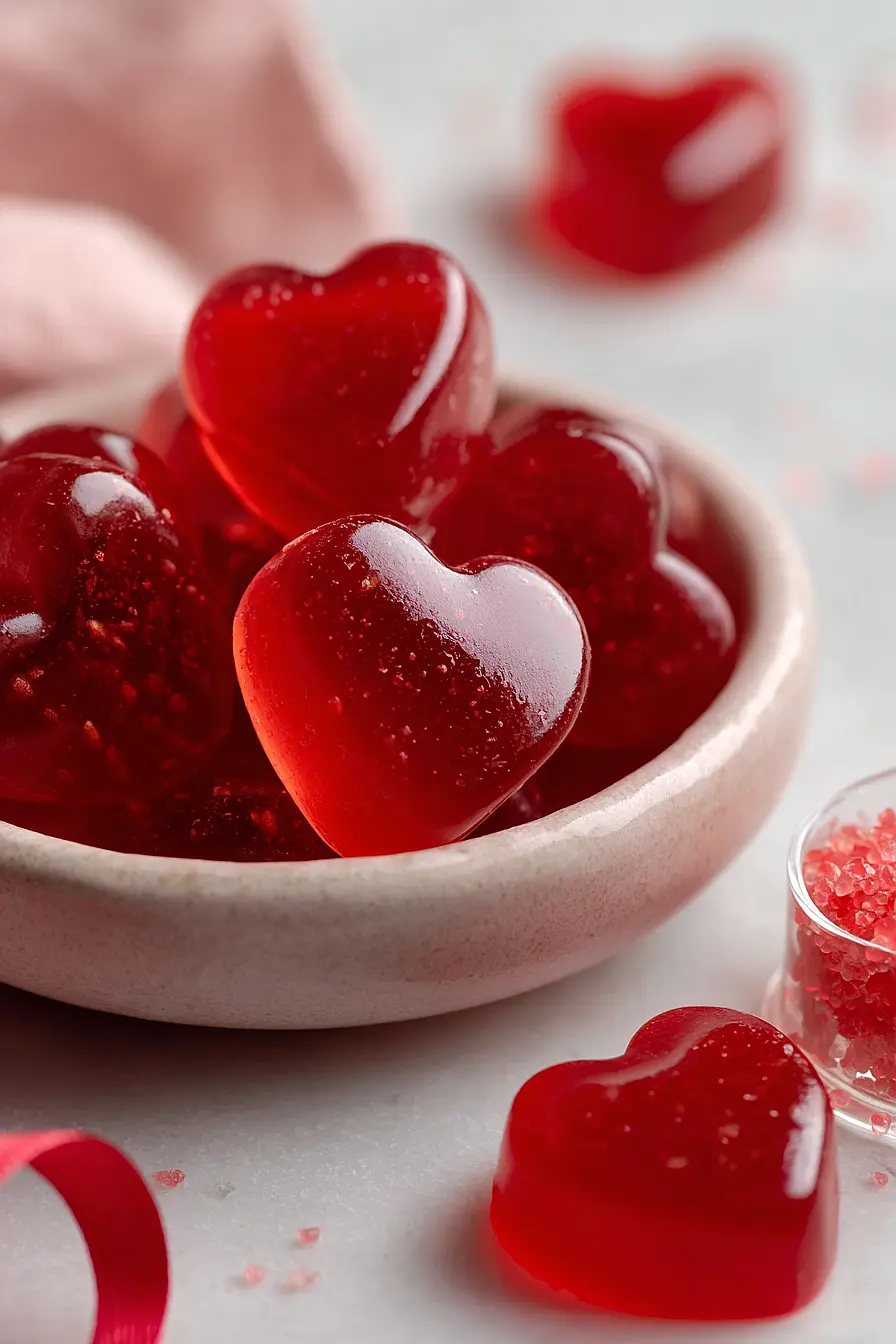
Luckily, these strawberry gummies check all the boxes: they’re made with real fruit and natural ingredients, come together in about 20 minutes with just a blender and some molds, and taste so good that even the pickiest eaters will be asking for seconds.

Why You’ll Love These Strawberry Gummies
- Only 5 simple ingredients – You probably have most of these in your kitchen already – just strawberries, water, lemon juice, honey, and gelatin.
- Healthier than store-bought – These homemade gummies skip the artificial colors, flavors, and excess sugar you’d find in the candy aisle, making them a better choice for kids and adults alike.
- Natural fruit flavor – Real strawberries give these gummies their sweet, fruity taste without any fake ingredients.
- Easy to make – Despite the long setting time, the actual hands-on work is minimal – just blend, heat, pour, and wait while the fridge does the rest.
- Perfect for meal prep – Make a big batch on the weekend and you’ll have healthy snacks ready to grab throughout the week.
What Kind of Strawberries Should I Use?
Both fresh and frozen strawberries work great for this recipe, so use whatever you have on hand. If you’re using frozen berries, just make sure to defrost them completely and drain any excess liquid before you start. Fresh strawberries are perfect when they’re in season and at their sweetest, but honestly, frozen strawberries can be just as good since they’re picked and frozen at peak ripeness. Whichever you choose, try to avoid strawberries that are overly mushy or have lots of white parts near the stem, as these won’t give you the best flavor for your gummies.
Options for Substitutions
This simple gummy recipe is easy to customize with a few swaps:
- Strawberries: Feel free to use any berries you like – raspberries, blueberries, or blackberries all work great. You can also try mango, peaches, or even watermelon for different flavors. Just keep the amount at 1 cup.
- Honey: Agave works as mentioned, but you can also use maple syrup or even regular sugar if that’s what you have. Start with the same amount and adjust to taste.
- Lemon juice: Lime juice makes a nice substitute and adds a slightly different citrus note. You can also skip it entirely if you prefer a purely fruity taste.
- Unflavored gelatin: This is the one ingredient you really shouldn’t substitute – gelatin is what makes the gummies set properly. For a vegetarian option, you can try agar agar powder, but you’ll need to use about 2 teaspoons instead and dissolve it in boiling liquid first. Keep in mind that agar gummies have a slightly different texture.
Watch Out for These Mistakes While Cooking
The biggest mistake people make with homemade gummies is adding the gelatin too quickly or to liquid that’s too hot, which creates clumps that won’t dissolve properly – always whisk it in slowly over medium-low heat and make sure the mixture never boils.
Skipping the straining step might seem like no big deal, but it leaves you with gummies full of seeds and foam bubbles that affect the texture, so take the extra minute to push the mixture through a fine-mesh strainer.
If your gummies stick to the mold and won’t pop out, lightly spray your molds with cooking spray before pouring in the mixture, and make sure you’ve given them the full 6 hours to set in the fridge – rushing this step results in gummies that fall apart.
For cleaner edges and easier removal, let the mold sit at room temperature for about 5 minutes before trying to pop out your gummies.
What to Serve With Strawberry Gummies?
Strawberry gummies are perfect as a standalone snack, but they’re also great for adding to lunch boxes alongside some cheese cubes, crackers, and apple slices for a balanced treat. Kids love them paired with a small container of yogurt or a handful of pretzels for an after-school snack. You can also set them out at parties alongside other finger foods like popcorn, fresh fruit, and veggie sticks with dip. They make a nice sweet finish to a light lunch of sandwiches or wraps, giving you that little something sweet without being too heavy.
Storage Instructions
Store: Keep your strawberry gummies in an airtight container in the fridge for up to 2 weeks. I like to layer them between pieces of parchment paper so they don’t stick together. They’ll stay nice and firm when kept cold, making them the perfect grab-and-go snack.
Freeze: These gummies freeze really well if you want to make a big batch. Just spread them out on a parchment-lined baking sheet and freeze until solid, then transfer to a freezer bag for up to 3 months. Let them thaw in the fridge for about 30 minutes before eating.
| Preparation Time | 20-30 minutes |
| Cooking Time | 20-30 minutes |
| Total Time | 6 hours 40 minutes – 6 hours 50 minutes |
| Level of Difficulty | Medium |
| Servings | 40 gummies |
Estimated Nutrition
Estimated nutrition for the whole recipe (without optional ingredients):
- Calories: 170-200
- Protein: 10-12 g
- Fat: 0-1 g
- Carbohydrates: 38-43 g
Ingredients
- 1 1/4 cups strawberries (hulled and sliced)
- 1/3 cup water
- 1 1/2 tbsp lemon juice
- 2 1/2 tbsp honey
- 4 1/2 tsp unflavored gelatin
- 1/4 tsp vanilla extract
- 1 pinch salt
Step 1: Puree and Heat the Strawberry Base
- 1 1/4 cups strawberries
- 1/3 cup water
- 1 1/2 tbsp lemon juice
- 2 1/2 tbsp honey
- 1/4 tsp vanilla extract
- 1 pinch salt
Puree the hulled and sliced strawberries in a food processor until completely smooth, then transfer to a pot.
Add the water, lemon juice, honey, vanilla extract, and salt to the pot.
Place over medium-low heat and bring to a gentle simmer, stirring occasionally.
Let it simmer for about 2-3 minutes to allow the flavors to meld and the mixture to warm through slightly.
Step 2: Bloom and Whisk in the Gelatin
- strawberry mixture from Step 1
- 4 1/2 tsp unflavored gelatin
Remove the pot from heat and slowly sprinkle the unflavored gelatin over the warm strawberry mixture while whisking constantly.
This prevents clumping and ensures the gelatin dissolves evenly.
Continue whisking for about 1-2 minutes until the gelatin is completely dissolved and the mixture is smooth.
I find that whisking off the heat prevents the gelatin from cooking too quickly and creating a grainy texture.
Step 3: Strain and Degas the Mixture
- gelatin mixture from Step 2
Pour the gelatin mixture through a fine-mesh strainer into a bowl, pressing gently on any solids to extract all the liquid.
This removes any strawberry pulp or seeds for a smooth final texture.
Let the strained mixture sit for a few minutes, then skim off any foam or bubbles from the surface using a spoon.
I like to tilt the bowl and gently drag a spoon across to catch all the air bubbles—they’ll create an uneven texture in your final gummies if left behind.
Step 4: Pour into Molds and Set
- strained gelatin mixture from Step 3
Carefully pour the strained mixture into your gummy molds, filling each cavity to the top.
Work slowly to avoid re-introducing bubbles into the mixture.
Place the filled molds in the refrigerator and let them set undisturbed for at least 6 hours, or until the gummies are completely firm to the touch.
Step 5: Unmold and Enjoy
Remove the molds from the refrigerator and gently flex the silicone molds or pop the gummies out of any rigid molds.
If using silicone, gently push from the bottom of each cavity to release the gummies.
They should pop out cleanly if properly set.
Store them in an airtight container in the refrigerator for up to one week.
Natural Strawberry Gummies
Ingredients
Method
- Puree the hulled and sliced strawberries in a food processor until completely smooth, then transfer to a pot. Add the water, lemon juice, honey, vanilla extract, and salt to the pot. Place over medium-low heat and bring to a gentle simmer, stirring occasionally. Let it simmer for about 2-3 minutes to allow the flavors to meld and the mixture to warm through slightly.
- Remove the pot from heat and slowly sprinkle the unflavored gelatin over the warm strawberry mixture while whisking constantly. This prevents clumping and ensures the gelatin dissolves evenly. Continue whisking for about 1-2 minutes until the gelatin is completely dissolved and the mixture is smooth. I find that whisking off the heat prevents the gelatin from cooking too quickly and creating a grainy texture.
- Pour the gelatin mixture through a fine-mesh strainer into a bowl, pressing gently on any solids to extract all the liquid. This removes any strawberry pulp or seeds for a smooth final texture. Let the strained mixture sit for a few minutes, then skim off any foam or bubbles from the surface using a spoon. I like to tilt the bowl and gently drag a spoon across to catch all the air bubbles—they'll create an uneven texture in your final gummies if left behind.
- Carefully pour the strained mixture into your gummy molds, filling each cavity to the top. Work slowly to avoid re-introducing bubbles into the mixture. Place the filled molds in the refrigerator and let them set undisturbed for at least 6 hours, or until the gummies are completely firm to the touch.
- Remove the molds from the refrigerator and gently flex the silicone molds or pop the gummies out of any rigid molds. If using silicone, gently push from the bottom of each cavity to release the gummies. They should pop out cleanly if properly set. Store them in an airtight container in the refrigerator for up to one week.