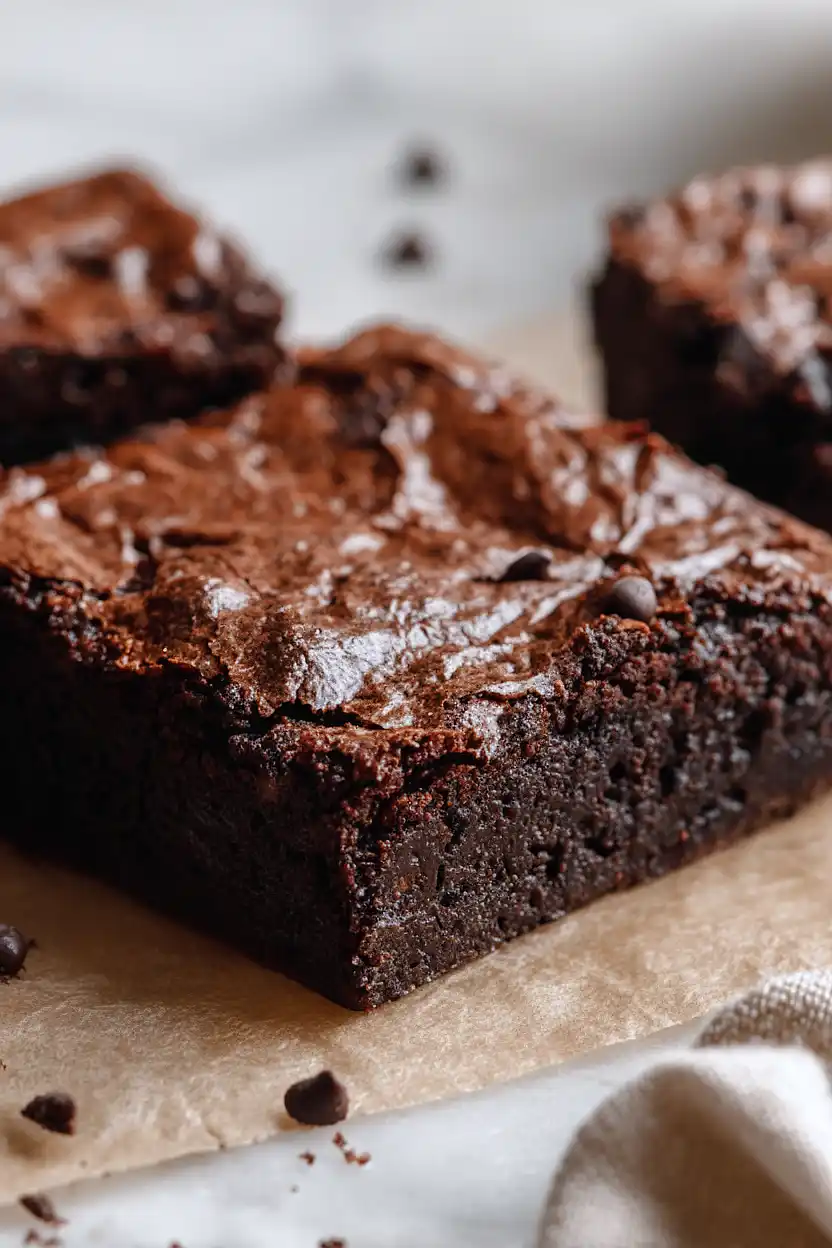
Here are my cassava flour paleo brownies, with rich chocolate, butter, and cassava flour instead of regular flour, for a fudgy brownie that just happens to be paleo-friendly.
These brownies have become my go-to dessert when I want something chocolatey but still want to stick with paleo ingredients. They’re so good that my kids don’t even realize they’re made with cassava flour instead of all-purpose. I love topping them with a sprinkle of sea salt for a little extra crunch.

Why You’ll Love These Cassava Flour Brownies
- Paleo-friendly – These brownies use cassava flour instead of regular wheat flour, making them perfect if you’re following a paleo diet or avoiding grains.
- Simple ingredients – You probably have most of these pantry staples on hand already, so you can whip up a batch whenever a chocolate craving hits.
- Quick and easy – Ready in under an hour from start to finish, these brownies come together fast with minimal effort.
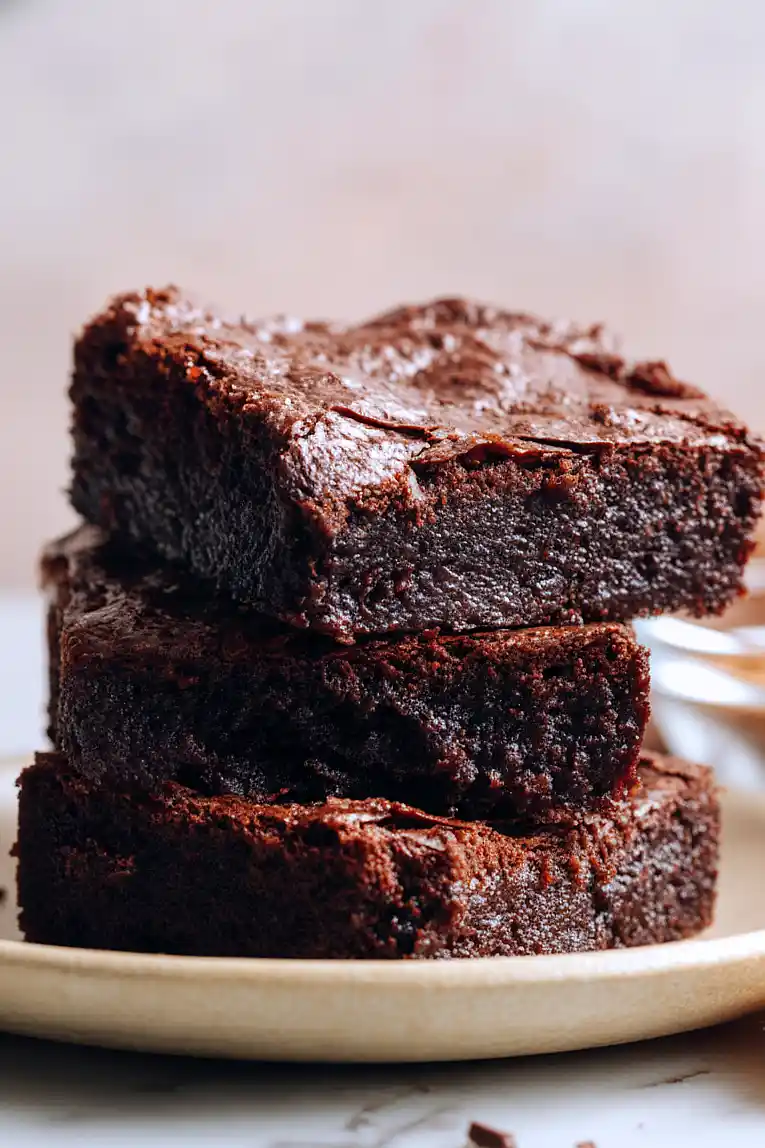
- Rich and fudgy – The combination of butter, chocolate chips, and cocoa powder creates that classic brownie texture everyone loves, and you’d never guess they’re grain-free.
What Kind of Cassava Flour Should I Use?
For these paleo brownies, any brand of cassava flour will work just fine, though some bakers prefer finer-ground varieties like Otto’s or Anthony’s for a smoother texture. Cassava flour is naturally grain-free and paleo-friendly, making it a great substitute for regular all-purpose flour in recipes like this. Just make sure you’re using cassava flour and not cassava starch (also called tapioca starch), as they’re completely different products and won’t give you the same results. Store your cassava flour in an airtight container in a cool, dry place, and it should stay fresh for several months.
Options for Substitutions
These paleo brownies are pretty adaptable, so here are some swaps you can make:
- Cassava flour: Since this is a paleo recipe, cassava flour is really the star here and shouldn’t be substituted if you want to keep it paleo-friendly. Regular all-purpose flour won’t work the same way, and almond flour will make the texture completely different.
- Sugar: For a paleo-friendly sweetener, try coconut sugar as a 1:1 swap. You could also use maple sugar, though it might add a slight maple flavor to your brownies.
- Butter: If you’re strictly paleo or dairy-free, use coconut oil instead. The texture will be slightly different but still delicious. Make sure it’s melted and cooled slightly before mixing.
- Chocolate chips: Look for paleo-friendly chocolate chips sweetened with coconut sugar, or chop up a dark chocolate bar (70% cacao or higher). Regular chocolate chips contain dairy and refined sugar, which aren’t paleo.
- Eggs: Eggs are pretty important for structure in brownies, but if you need to avoid them, try flax eggs (2 tablespoons ground flaxseed mixed with 6 tablespoons water, let sit for 5 minutes). The texture will be a bit denser though.
Watch Out for These Mistakes While Baking
The biggest mistake with cassava flour brownies is overbaking, which turns them dry and crumbly instead of fudgy – since cassava flour behaves differently than regular flour, pull them out when the center still looks slightly underdone and a toothpick comes out with a few moist crumbs.
Another common error is skipping the tapping step halfway through baking, which actually releases air bubbles and creates that signature crackly top, so don’t skip this important technique.
Make sure your melted chocolate mixture isn’t too hot when you add it to the eggs, or you’ll end up with scrambled eggs in your batter – let it cool for a few minutes first.
Finally, resist the urge to cut into these brownies right away, as cassava flour needs extra cooling time to set properly, and cutting too early will leave you with a gooey mess on your knife.
What to Serve With Cassava Flour Paleo Brownies?
These brownies are pretty rich and chocolatey on their own, so they’re perfect with a cold glass of milk or a hot cup of coffee. If you want to make them feel more like a dessert, add a scoop of vanilla ice cream on top while they’re still warm – the ice cream will melt into all the chocolatey goodness. Fresh berries like raspberries or strawberries are also great alongside these brownies since the tartness balances out the sweetness. For a fun party idea, you can cut them into small squares and serve them with whipped cream and a dusting of cocoa powder on top.
Storage Instructions
Store: Keep your brownies in an airtight container at room temperature for up to 3 days, or in the fridge for about a week. I actually prefer them cold from the fridge because they get this nice fudgy texture that’s perfect with a glass of milk.
Freeze: These brownies freeze really well for up to 3 months. Cut them into individual squares and wrap each one in plastic wrap, then store them all together in a freezer bag. That way you can grab just one or two whenever a chocolate craving hits.
Enjoy: If you froze them, just let the brownies thaw at room temperature for about 30 minutes. You can also microwave a frozen brownie for 15-20 seconds if you want that warm, gooey texture. They taste amazing either way!
| Preparation Time | 15-20 minutes |
| Cooking Time | 25-30 minutes |
| Total Time | 40-50 minutes |
| Level of Difficulty | Easy |
| Servings | 12 pieces |
Estimated Nutrition
Estimated nutrition for the whole recipe (without optional ingredients):
- Calories: 2100-2300
- Protein: 20-25 g
- Fat: 110-120 g
- Carbohydrates: 280-300 g
Ingredients
- 1 cup + 2 tablespoons sugar
- 2 eggs (room temperature, about 70°F)
- 3/4 cup butter (I like Kerrygold unsalted butter for this)
- 1 cup chocolate chips (I prefer Ghirardelli 60% cacao chips)
- 3 tbsp cocoa powder
- 1/3 cup cassava flour (I always use Otto’s Naturals for best texture)
- 1 tsp vanilla
- 1 pinch salt
- sea salt (for garnish, adds a nice crunch)
Step 1: Prepare Your Pan and Preheat Oven
Preheat your oven to 350°F and line an 8×8 inch baking dish with parchment paper, allowing the paper to overhang slightly on two sides for easy removal later.
This setup ensures even heat distribution and makes removing your cooled brownies simple and clean.
Step 2: Melt Chocolate and Butter Together
- 3/4 cup butter
- 1 cup chocolate chips
In a heat-safe bowl, combine the butter and chocolate chips, then melt them together over low heat or using a double boiler, stirring occasionally until completely smooth.
I find that melting them together creates a more cohesive chocolate base than melting them separately—the butter helps distribute the cocoa butter evenly for a silkier texture.
Step 3: Whip Eggs and Sugar Until Light and Fluffy
- 2 eggs
- 1 cup + 2 tablespoons sugar
In a mixer, beat the room-temperature eggs and sugar together for 2 minutes on medium-high speed until the mixture becomes pale, fluffy, and roughly doubled in volume.
This aeration is crucial—it creates tiny air pockets that give the brownies their tender, fudgy crumb rather than a dense, heavy texture.
Step 4: Combine Chocolate Mixture with Eggs
- melted chocolate and butter mixture from Step 2
- egg and sugar mixture from Step 3
Pour the melted chocolate mixture from Step 2 into the egg and sugar mixture from Step 3, folding gently with a spatula until just combined and no streaks of egg mixture remain.
Be gentle here—you want to preserve those air bubbles you just created rather than deflate them with aggressive stirring.
Step 5: Add Dry Ingredients and Vanilla
- 3 tbsp cocoa powder
- 1/3 cup cassava flour
- 1 tsp vanilla
- 1 pinch salt
- combined batter from Step 4
Sift the cocoa powder into the batter, then add the cassava flour, vanilla, and a pinch of salt, folding everything together gently until just combined with no flour streaks visible.
I always sift the cocoa powder to avoid clumps and ensure it distributes evenly throughout the batter for consistent chocolate flavor in every bite.
Step 6: Bake in Two Stages with a Pan Tap
- batter from Step 5
Pour the batter into the prepared pan from Step 1 and bake for 15 minutes until the edges are just set but the center still looks slightly underdone.
Remove the pan and tap it firmly on the counter a few times—this helps release air bubbles and encourages the characteristic fudgy texture.
Return to the oven for another 10-12 minutes until a toothpick inserted in the center comes out with just a few moist crumbs (not wet batter).
Step 7: Cool and Finish with Sea Salt Garnish
- sea salt
Remove the brownies from the oven and immediately sprinkle the sea salt garnish over the warm surface, allowing it to adhere slightly.
Let the brownies cool completely in the pan (at least 2 hours or overnight is best), then use the parchment overhang to lift them out and cut into squares.
The cooling time allows the structure to set properly, making clean cuts possible.
Irresistible Cassava Flour Paleo Brownies
Ingredients
Method
- Preheat your oven to 350°F and line an 8x8 inch baking dish with parchment paper, allowing the paper to overhang slightly on two sides for easy removal later. This setup ensures even heat distribution and makes removing your cooled brownies simple and clean.
- In a heat-safe bowl, combine the butter and chocolate chips, then melt them together over low heat or using a double boiler, stirring occasionally until completely smooth. I find that melting them together creates a more cohesive chocolate base than melting them separately—the butter helps distribute the cocoa butter evenly for a silkier texture.
- In a mixer, beat the room-temperature eggs and sugar together for 2 minutes on medium-high speed until the mixture becomes pale, fluffy, and roughly doubled in volume. This aeration is crucial—it creates tiny air pockets that give the brownies their tender, fudgy crumb rather than a dense, heavy texture.
- Pour the melted chocolate mixture from Step 2 into the egg and sugar mixture from Step 3, folding gently with a spatula until just combined and no streaks of egg mixture remain. Be gentle here—you want to preserve those air bubbles you just created rather than deflate them with aggressive stirring.
- Sift the cocoa powder into the batter, then add the cassava flour, vanilla, and a pinch of salt, folding everything together gently until just combined with no flour streaks visible. I always sift the cocoa powder to avoid clumps and ensure it distributes evenly throughout the batter for consistent chocolate flavor in every bite.
- Pour the batter into the prepared pan from Step 1 and bake for 15 minutes until the edges are just set but the center still looks slightly underdone. Remove the pan and tap it firmly on the counter a few times—this helps release air bubbles and encourages the characteristic fudgy texture. Return to the oven for another 10-12 minutes until a toothpick inserted in the center comes out with just a few moist crumbs (not wet batter).
- Remove the brownies from the oven and immediately sprinkle the sea salt garnish over the warm surface, allowing it to adhere slightly. Let the brownies cool completely in the pan (at least 2 hours or overnight is best), then use the parchment overhang to lift them out and cut into squares. The cooling time allows the structure to set properly, making clean cuts possible.