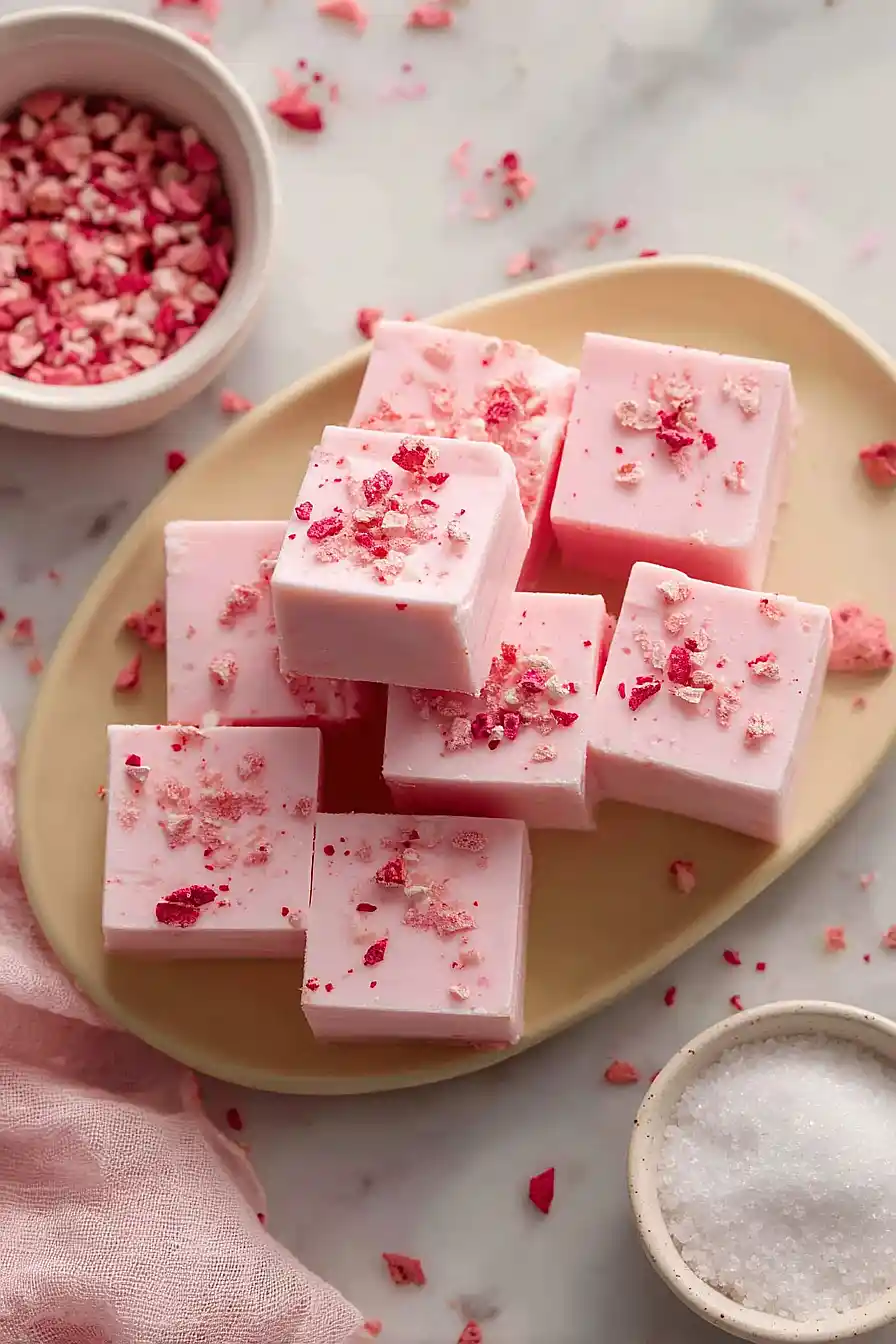
Here is my favorite strawberry fudge recipe, with smooth white chocolate, sweet condensed milk, and real freeze-dried strawberries that give it an amazing fruity flavor.
This strawberry fudge is perfect for Valentine’s Day or really any time you’re craving something sweet and pretty. My kids love helping me crush up the strawberries, and the pink color always makes everyone smile.
Why You’ll Love This Strawberry Fudge
- Super quick to make – This fudge comes together in just 10-15 minutes, making it perfect for last-minute gifts or when you need a sweet treat fast.
- No baking required – You won’t even need to turn on your oven for this one, which is great for hot days or when you want something easy.
- Simple ingredients – With just a handful of basic ingredients like white chocolate and condensed milk, you probably already have most of what you need in your pantry.
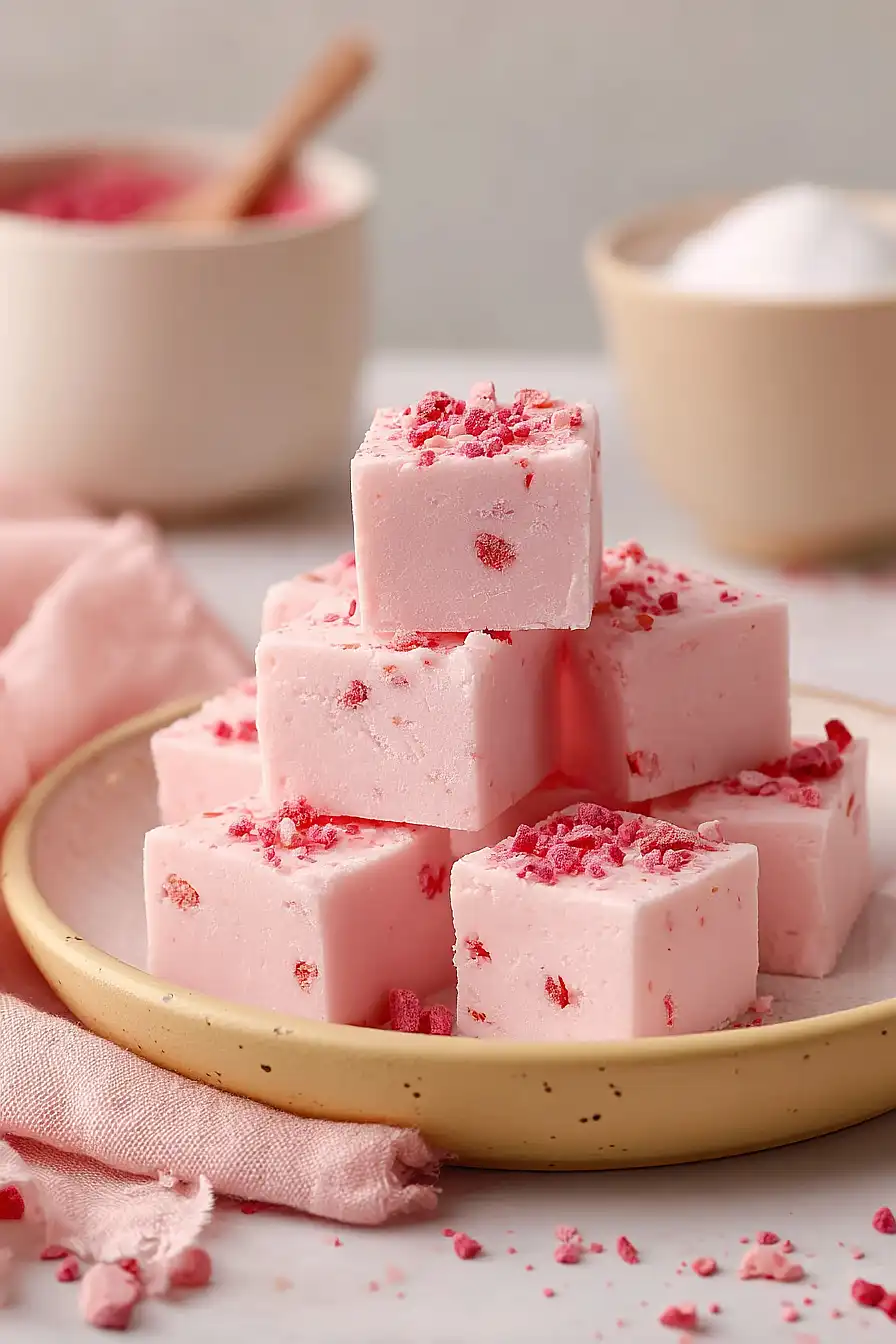
- Pretty and fun – The pink color and strawberry flavor make this fudge look as good as it tastes, and it’s a hit at parties or as homemade gifts.
- Beginner-friendly – Even if you’ve never made fudge before, this recipe is foolproof and doesn’t require any special candy-making skills.
What Kind of White Chocolate Should I Use?
For this strawberry fudge, you’ll want to use good quality white chocolate rather than white baking chips or candy melts. Real white chocolate contains cocoa butter, which gives your fudge that smooth, creamy texture and helps it set properly. You can find it in bars in the baking aisle, or grab some from the candy section if you prefer – just check the ingredient list to make sure cocoa butter is listed. If you’re feeling fancy, higher-end white chocolate will give you an even better flavor, but standard grocery store brands work just fine for this recipe.
Options for Substitutions
This fudge recipe is pretty straightforward, but here are some swaps you can make if needed:
- White chocolate: Quality matters here – stick with white chocolate for this recipe since it’s the base. You can use chocolate chips or a bar, but make sure it’s real white chocolate (check that it contains cocoa butter) rather than white coating or candy melts, as they won’t set the same way.
- Condensed milk: Sweetened condensed milk is essential for fudge – don’t swap it with evaporated milk or regular milk, as the fudge won’t set properly without it.
- Strawberry flavouring: If you can’t find LorAnn or another concentrated flavouring, you can use strawberry extract instead. Start with 1-2 teaspoons and taste as you go, since extracts can be less concentrated than flavourings.
- Freeze dried strawberries: These add great texture and flavor, but if you can’t find them, you can use freeze dried raspberries instead for a similar effect. Fresh or frozen strawberries won’t work here as they contain too much moisture.
- Pink food colouring: This is totally optional – skip it if you prefer a more natural look, or use gel food colouring for a more intense color with less liquid.
Watch Out for These Mistakes While Cooking
The biggest mistake when making strawberry fudge is overheating the white chocolate, which can cause it to seize up and turn grainy instead of smooth – keep your heat low and stir constantly to maintain that creamy texture.
Another common error is adding the icing sugar while the mixture is still too hot, which can make it separate or become oily, so let it cool for about a minute after removing from heat before stirring in the sugar and flavorings.
Don’t rush the chilling process by trying to speed it up in the freezer, as this can create an uneven texture with a hard outer layer and soft center – patience pays off with fudge that sets perfectly throughout.
If you’re having trouble slicing clean pieces, try warming your knife under hot water and wiping it dry between cuts for those picture-perfect squares.
What to Serve With Strawberry Fudge?
Strawberry fudge is sweet enough to stand on its own, but it pairs really nicely with a cup of coffee or hot chocolate to balance out the richness. I like setting out a platter with the fudge alongside some fresh strawberries and maybe a few chocolate-covered pretzels for a fun dessert spread at parties. If you’re making this for a gift or special occasion, wrapping individual pieces in wax paper and arranging them in a pretty box makes for a thoughtful presentation. The fudge also works great as part of a dessert board with cookies, brownies, and other bite-sized treats.
Storage Instructions
Store: Keep your strawberry fudge in an airtight container at room temperature for up to a week, or in the fridge for up to 3 weeks. I like to layer pieces between parchment paper so they don’t stick together. The fudge actually tastes great cold from the fridge too!
Freeze: This fudge freezes really well for up to 3 months. Just wrap individual pieces in wax paper, then store them all in a freezer-safe container. It’s perfect for making ahead when you need a sweet treat or gift.
Serve: Let frozen fudge thaw at room temperature for about 30 minutes before serving. If you stored it in the fridge, you can eat it straight away or let it sit out for 10 minutes to soften slightly. Either way, it’s delicious!
| Preparation Time | 10-15 minutes |
| Cooking Time | 0 minutes |
| Total Time | 10-15 minutes |
| Level of Difficulty | Easy |
| Servings | 36 pieces |
Estimated Nutrition
Estimated nutrition for the whole recipe (without optional ingredients):
- Calories: 4400-4700
- Protein: 44-50 g
- Fat: 175-190 g
- Carbohydrates: 670-710 g
Ingredients
For the fudge:
- 22 oz white chocolate (Ghirardelli baking bars for a smooth melt)
- 13.5 oz condensed milk (Eagle Brand recommended)
- 3 oz icing sugar (sifted for a silky texture)
- 1/4 teaspoon fine sea salt
- 1/2 teaspoon vanilla extract
- Pink food coloring
- Strawberry flavoring (adjust to taste)
For the topping:
- 0.75 oz freeze dried strawberries (crushed into 1/8-inch pieces)
Step 1: Prepare the Pan and Mise en Place
- Parchment paper
- 3 oz icing sugar
- 0.75 oz freeze dried strawberries
Line a 9×9 inch square baking pan with parchment paper, allowing some overhang on the sides for easy removal later.
Sift the icing sugar into a small bowl to remove any lumps and ensure a silky texture in the final fudge.
Crush the freeze-dried strawberries into 1/8-inch pieces and set aside.
Chop the white chocolate into small, uniform pieces to ensure even melting.
Step 2: Melt the Chocolate and Condensed Milk Base
- 22 oz white chocolate
- 13.5 oz condensed milk
Combine the chopped white chocolate and condensed milk in a heavy-bottomed saucepan over low heat, stirring frequently to ensure smooth, even melting.
I like to use a rubber spatula for this step as it prevents the mixture from sticking to the sides of the pan.
Once fully melted and combined, remove from heat immediately—white chocolate can break or seize if overheated, so patience with low heat is key.
Step 3: Build Flavor with Dry Ingredients and Extracts
- sifted icing sugar from Step 1
- 1/4 teaspoon fine sea salt
- 1/2 teaspoon vanilla extract
- Pink food coloring
- Strawberry flavoring
- melted chocolate mixture from Step 2
Stir the sifted icing sugar, fine sea salt, vanilla extract, pink food coloring, and strawberry flavoring into the melted chocolate mixture from Step 2, mixing until fully combined and the color is uniform.
Taste a tiny bit on a spoon and adjust the strawberry flavoring to your preference—it’s easier to add more than to dilute it.
I find that starting with less flavoring and tasting as you go prevents an overpowering taste that can mask the delicate strawberry-white chocolate balance.
Step 4: Pour and Press with Strawberry Garnish
- flavored fudge mixture from Step 3
- crushed freeze-dried strawberries from Step 1
Pour the flavored fudge mixture into the parchment-lined pan from Step 1, using a spatula to spread it evenly into the corners and smooth the top.
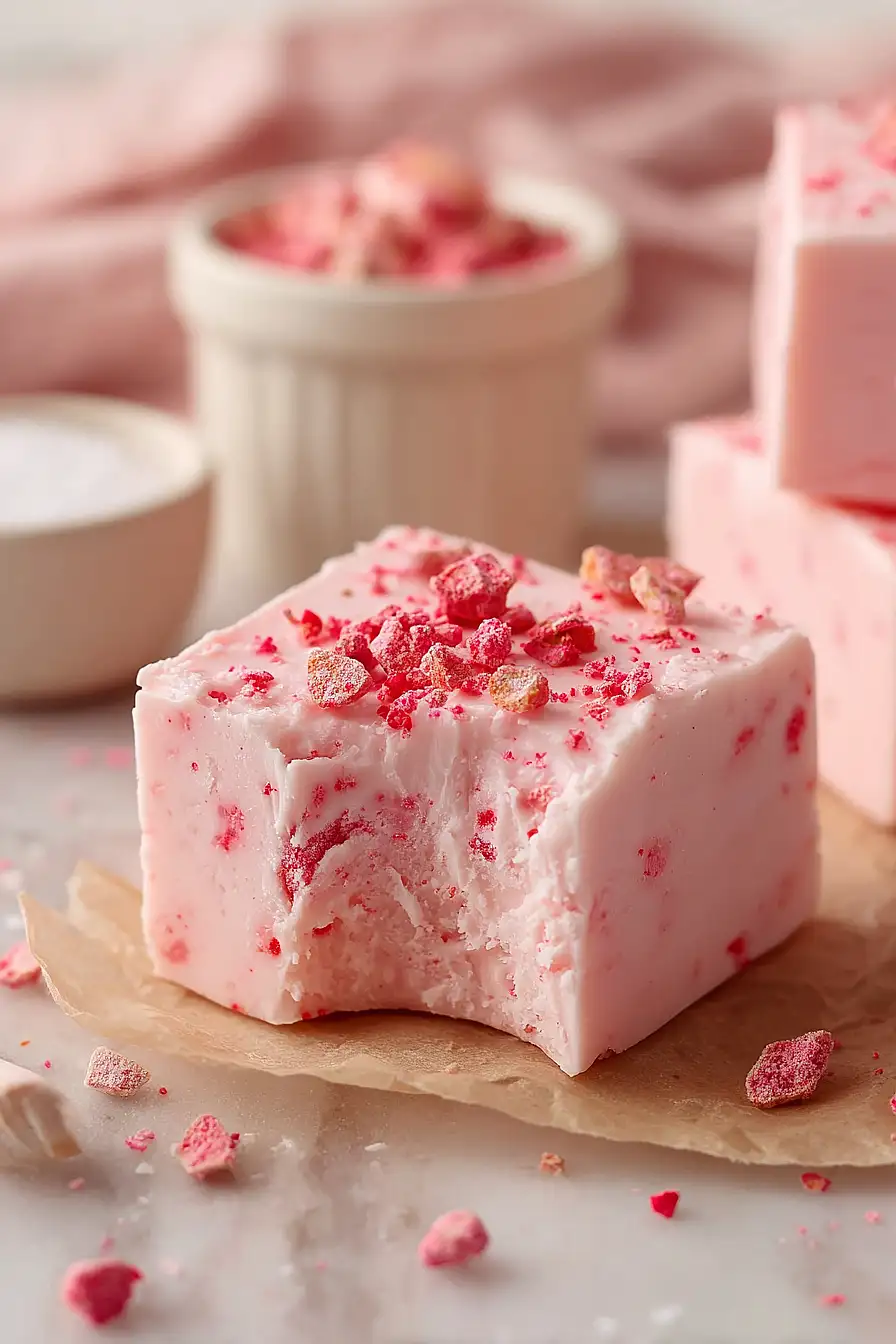
Working quickly before the mixture begins to set, press the crushed freeze-dried strawberry pieces onto the surface, distributing them evenly for both visual appeal and consistent flavor throughout each piece.
I press them in gently but firmly enough that they stay in place as the fudge sets.
Step 5: Chill and Set the Fudge
Place the pan in the refrigerator and chill for 3-4 hours, or preferably overnight, until the fudge is completely firm and set.
Overnight chilling ensures the fudge has the ideal texture and makes slicing much cleaner.
Step 6: Slice and Serve
Remove the fudge from the refrigerator and use the parchment paper overhang to lift it out of the pan onto a cutting board.
Using a sharp knife, slice into 1-inch squares or desired piece size, wiping the knife clean between cuts for neat edges.
Serve immediately or store in an airtight container in the refrigerator for up to 2 weeks.
Homemade Strawberry Fudge
Ingredients
Method
- Line a 9x9 inch square baking pan with parchment paper, allowing some overhang on the sides for easy removal later. Sift the icing sugar into a small bowl to remove any lumps and ensure a silky texture in the final fudge. Crush the freeze-dried strawberries into 1/8-inch pieces and set aside. Chop the white chocolate into small, uniform pieces to ensure even melting.
- Combine the chopped white chocolate and condensed milk in a heavy-bottomed saucepan over low heat, stirring frequently to ensure smooth, even melting. I like to use a rubber spatula for this step as it prevents the mixture from sticking to the sides of the pan. Once fully melted and combined, remove from heat immediately—white chocolate can break or seize if overheated, so patience with low heat is key.
- Stir the sifted icing sugar, fine sea salt, vanilla extract, pink food coloring, and strawberry flavoring into the melted chocolate mixture from Step 2, mixing until fully combined and the color is uniform. Taste a tiny bit on a spoon and adjust the strawberry flavoring to your preference—it's easier to add more than to dilute it. I find that starting with less flavoring and tasting as you go prevents an overpowering taste that can mask the delicate strawberry-white chocolate balance.
- Pour the flavored fudge mixture into the parchment-lined pan from Step 1, using a spatula to spread it evenly into the corners and smooth the top. Working quickly before the mixture begins to set, press the crushed freeze-dried strawberry pieces onto the surface, distributing them evenly for both visual appeal and consistent flavor throughout each piece. I press them in gently but firmly enough that they stay in place as the fudge sets.
- Place the pan in the refrigerator and chill for 3-4 hours, or preferably overnight, until the fudge is completely firm and set. Overnight chilling ensures the fudge has the ideal texture and makes slicing much cleaner.
- Remove the fudge from the refrigerator and use the parchment paper overhang to lift it out of the pan onto a cutting board. Using a sharp knife, slice into 1-inch squares or desired piece size, wiping the knife clean between cuts for neat edges. Serve immediately or store in an airtight container in the refrigerator for up to 2 weeks.