Finding the perfect cookie recipe that hits that sweet spot between easy to make and absolutely delicious can feel impossible sometimes. You want something that doesn’t require a million ingredients or complicated techniques, but still delivers those warm, cozy flavors that make everyone in the house come running to the kitchen.
These maple cookies are exactly what you’ve been looking for: they’re simple enough for busy weeknights, packed with that rich maple flavor we all crave, and soft enough that even the pickiest eaters will ask for seconds.
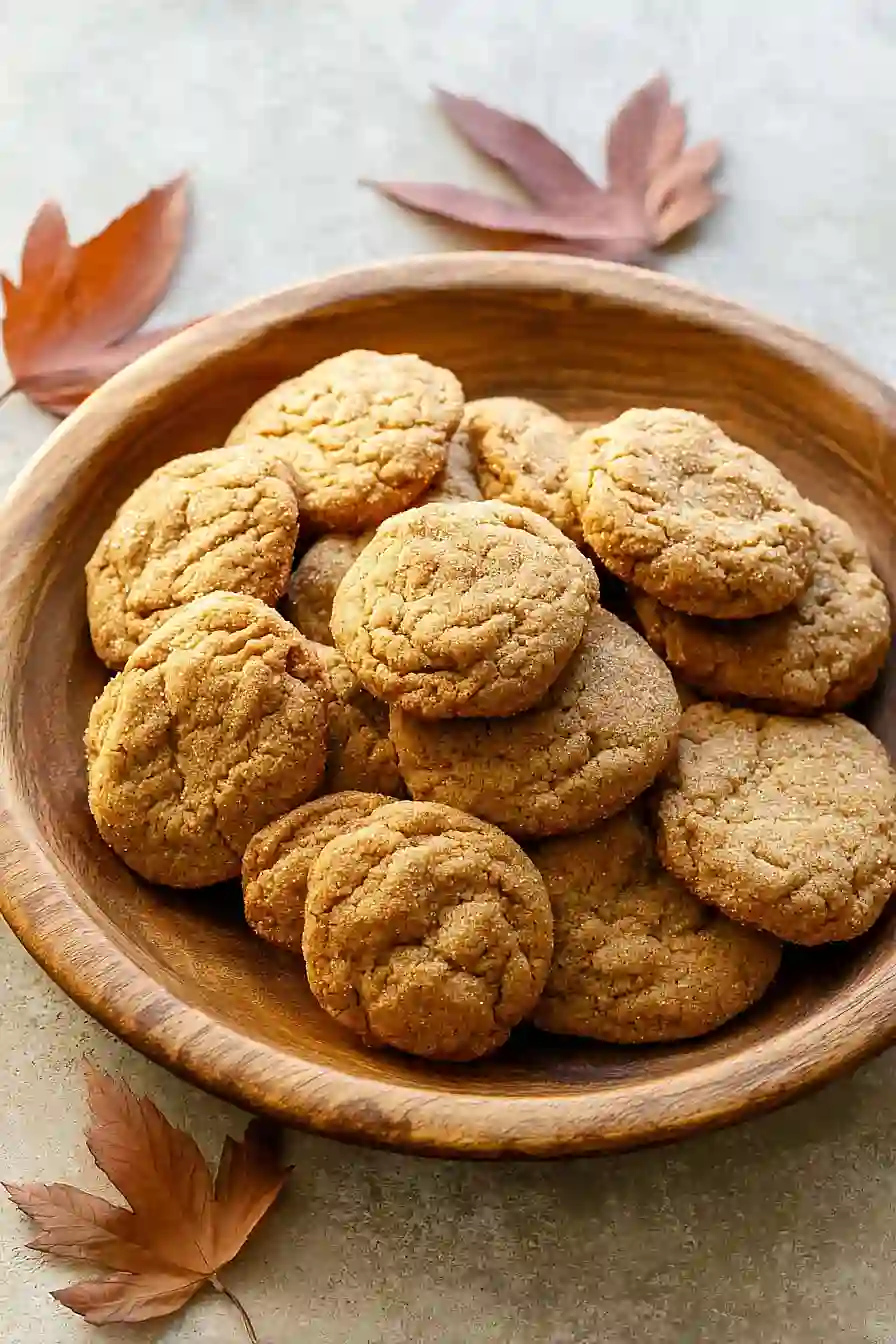
Why You’ll Love These Maple Cookies
- Rich maple flavor – These cookies get their deep, sweet taste from real maple syrup, giving you that cozy fall feeling in every bite.
- Simple pantry ingredients – You probably have most of these basic baking staples on hand already, making this an easy go-to recipe when you’re craving homemade cookies.
- Quick to make – From start to finish, these cookies are ready in under an hour, perfect for when you need a sweet treat without spending all day in the kitchen.
- Perfect texture – The combination of brown sugar and maple syrup creates cookies that are soft and chewy with just the right amount of sweetness.
- Great for sharing – This recipe makes plenty of cookies, so you can enjoy some now and have extras to share with friends or pack in lunch boxes.
What Kind of Maple Syrup Should I Use?
For these cookies, you’ll want to reach for a darker grade of maple syrup like Grade A Dark Robust (formerly called Grade B) since it has a stronger maple flavor that really shines through in baked goods. The lighter grades tend to get lost among the other ingredients, so save those for your pancakes instead. Pure maple syrup is definitely the way to go here – avoid the artificial stuff as it just won’t give you that rich, complex maple taste you’re looking for. If you only have lighter maple syrup on hand, it’ll still work, but you might want to add an extra tablespoon to boost that maple flavor.

Options for Substitutions
These maple cookies are pretty forgiving when it comes to swaps, so here’s what you can do:
- Dark brown sugar: Light brown sugar works just fine, though you’ll get a slightly milder molasses flavor. You can even use regular granulated sugar, but add an extra tablespoon of maple syrup to keep that rich taste.
- Grade B maple syrup: Grade A maple syrup is perfectly fine to use – it’s just a bit lighter in flavor. Avoid pancake syrup or artificial maple flavoring as they won’t give you that real maple taste these cookies need.
- Walnuts: Pecans are a great swap and pair beautifully with maple. You could also use chopped almonds or even skip the nuts entirely if you prefer plain cookies.
- All-purpose flour: You can substitute with a 1:1 gluten-free flour blend if needed, though the texture might be slightly different. Whole wheat flour works too, but use about 1/4 less since it absorbs more liquid.
- Unsalted butter: Salted butter is fine – just reduce the added salt to 1/4 teaspoon. You can also use softened coconut oil, but let the dough chill for 30 minutes before baking.
Watch Out for These Mistakes While Baking
The biggest mistake when making maple cookies is using imitation maple syrup instead of real maple syrup, which will leave your cookies tasting artificial and lacking that rich, complex maple flavor you’re after.
Another common error is not properly measuring the maple syrup – since it’s sticky, spray your measuring cup with cooking spray first to ensure it all comes out easily and you get the right amount of moisture in your dough.
Be careful not to overbake these cookies, as the maple syrup can cause them to brown quickly – they should look slightly underdone when you pull them from the oven since they’ll continue cooking on the hot pan.
Finally, make sure your butter is truly at room temperature before mixing, as cold butter won’t cream properly with the brown sugar and can result in dense, tough cookies instead of the tender texture you want.

What to Serve With Maple Cookies?
These maple cookies are perfect with a tall glass of cold milk or a warm cup of coffee – the maple flavor really shines when paired with something creamy. I love serving them alongside vanilla ice cream for an easy dessert, or you can crumble them over plain yogurt for a sweet breakfast treat. They also make a great addition to a fall dessert spread with apple cider or hot chocolate. For something a bit fancier, try sandwiching two cookies together with cream cheese frosting or a simple buttercream for an instant cookie sandwich that everyone will love.
Storage Instructions
Keep Fresh: These maple cookies stay soft and chewy when stored in an airtight container at room temperature for up to a week. I like to toss a slice of bread in the container to help keep them from getting too crispy – just replace the bread slice every few days.
Freeze: You can freeze the baked cookies in a freezer-safe container for up to 3 months, or freeze the cookie dough balls on a baking sheet before transferring to freezer bags. The dough balls can go straight from freezer to oven – just add an extra minute or two to the baking time.
Make Ahead: The cookie dough can be made up to 2 days ahead and kept covered in the fridge. Let it come to room temperature for about 15 minutes before scooping and baking. This actually makes the cookies even more flavorful since the maple syrup has more time to work its magic!
| Preparation Time | 30-45 minutes |
| Cooking Time | 10-12 minutes |
| Total Time | 40-57 minutes |
| Level of Difficulty | Easy |
Estimated Nutrition
Estimated nutrition for the whole recipe (without optional ingredients):
- Calories: 2800-3000
- Protein: 30-35 g
- Fat: 130-145 g
- Carbohydrates: 395-415 g
Ingredients
- 1/2 cup unsalted butter, softened
- 1 cup packed dark brown sugar
- 1 tsp pure vanilla extract
- 1 large egg
- 1/2 cup plus 1 tbsp grade b maple syrup
- 2 cups all-purpose flour
- 1/2 tsp baking soda
- 1/2 tsp salt
- 3/4 cup roughly chopped walnuts
Step 1: Cream the Butter and Sugar
- 1/2 cup unsalted butter, softened
- 1 cup packed dark brown sugar
In a large mixing bowl, beat the softened unsalted butter and packed dark brown sugar together with an electric mixer on medium speed for about three minutes, or until the mixture is light and fluffy.
Step 2: Mix in Wet Ingredients
- 1 tsp pure vanilla extract
- 1 large egg
- 1/2 cup plus 1 tbsp grade B maple syrup
Add the pure vanilla extract and the large egg to the butter-sugar mixture and mix until well incorporated.
Then add the grade B maple syrup and continue mixing until everything is smoothly combined.
Step 3: Combine Dry Ingredients
- 2 cups all-purpose flour
- 1/2 tsp baking soda
- 1/2 tsp salt
In a separate bowl, vigorously whisk together the all-purpose flour, baking soda, and salt to ensure they are well mixed and aerated.
Step 4: Incorporate Dry Ingredients and Walnuts
- flour mixture from Step 3
- butter mixture from Step 2
- 3/4 cup roughly chopped walnuts
Slowly add the flour mixture from Step 3 to the butter mixture from Step 2, mixing only until just incorporated to avoid overworking the dough.
Gently fold in the roughly chopped walnuts until evenly distributed.
I like to under-mix just a little to keep the cookies tender.
Step 5: Chill the Dough
Cover the cookie dough with plastic wrap and chill it in the refrigerator for thirty minutes.
This helps prevent the cookies from spreading too much during baking.
Step 6: Portion the Dough
- chilled cookie dough from Step 5
Line cookie sheets with parchment paper.
Scoop out spoonfuls of the chilled dough, forming them into balls about 1 inch in diameter, and arrange them on the prepared baking sheets with space in between.
Step 7: Bake and Cool the Cookies
Bake the cookies in a preheated 350°F oven for 10 to 12 minutes, or until lightly browned around the edges.
Allow the cookies to cool on the sheet for a minute or two before transferring them to a wire rack to cool completely.
For a chewier cookie, I take them out when the centers still look just slightly underdone.
Brown Sugar Maple Cookies
Ingredients
Method
- In a large mixing bowl, beat the softened unsalted butter and packed dark brown sugar together with an electric mixer on medium speed for about three minutes, or until the mixture is light and fluffy.
- Add the pure vanilla extract and the large egg to the butter-sugar mixture and mix until well incorporated. Then add the grade B maple syrup and continue mixing until everything is smoothly combined.
- In a separate bowl, vigorously whisk together the all-purpose flour, baking soda, and salt to ensure they are well mixed and aerated.
- Slowly add the flour mixture from Step 3 to the butter mixture from Step 2, mixing only until just incorporated to avoid overworking the dough. Gently fold in the roughly chopped walnuts until evenly distributed. I like to under-mix just a little to keep the cookies tender.
- Cover the cookie dough with plastic wrap and chill it in the refrigerator for thirty minutes. This helps prevent the cookies from spreading too much during baking.
- Line cookie sheets with parchment paper. Scoop out spoonfuls of the chilled dough, forming them into balls about 1 inch in diameter, and arrange them on the prepared baking sheets with space in between.
- Bake the cookies in a preheated 350°F oven for 10 to 12 minutes, or until lightly browned around the edges. Allow the cookies to cool on the sheet for a minute or two before transferring them to a wire rack to cool completely. For a chewier cookie, I take them out when the centers still look just slightly underdone.