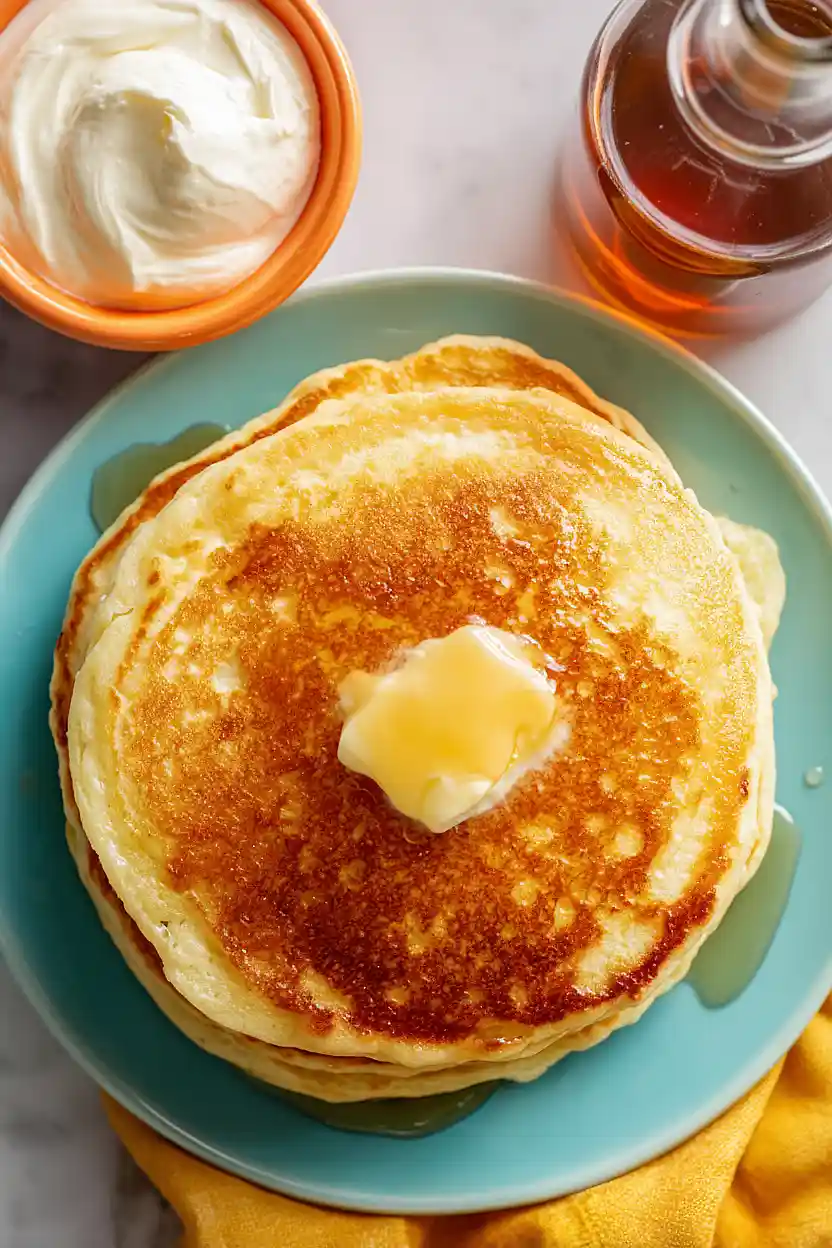
Here are my one bowl greek yogurt pancakes, with thick greek yogurt for extra fluffiness, a hint of nutmeg for warmth, and the best part – everything mixes together in just one bowl for easy cleanup.
These pancakes have become our go-to weekend breakfast. My kids love how fluffy they turn out, and I love that I don’t have a sink full of dishes afterwards. Plus, the greek yogurt adds protein, so I feel a little less guilty about the syrup situation.
Why You’ll Love These Greek Yogurt Pancakes
- One bowl cleanup – No need to dirty multiple bowls or measuring cups. Just mix everything in one bowl and you’re done, making cleanup a breeze.
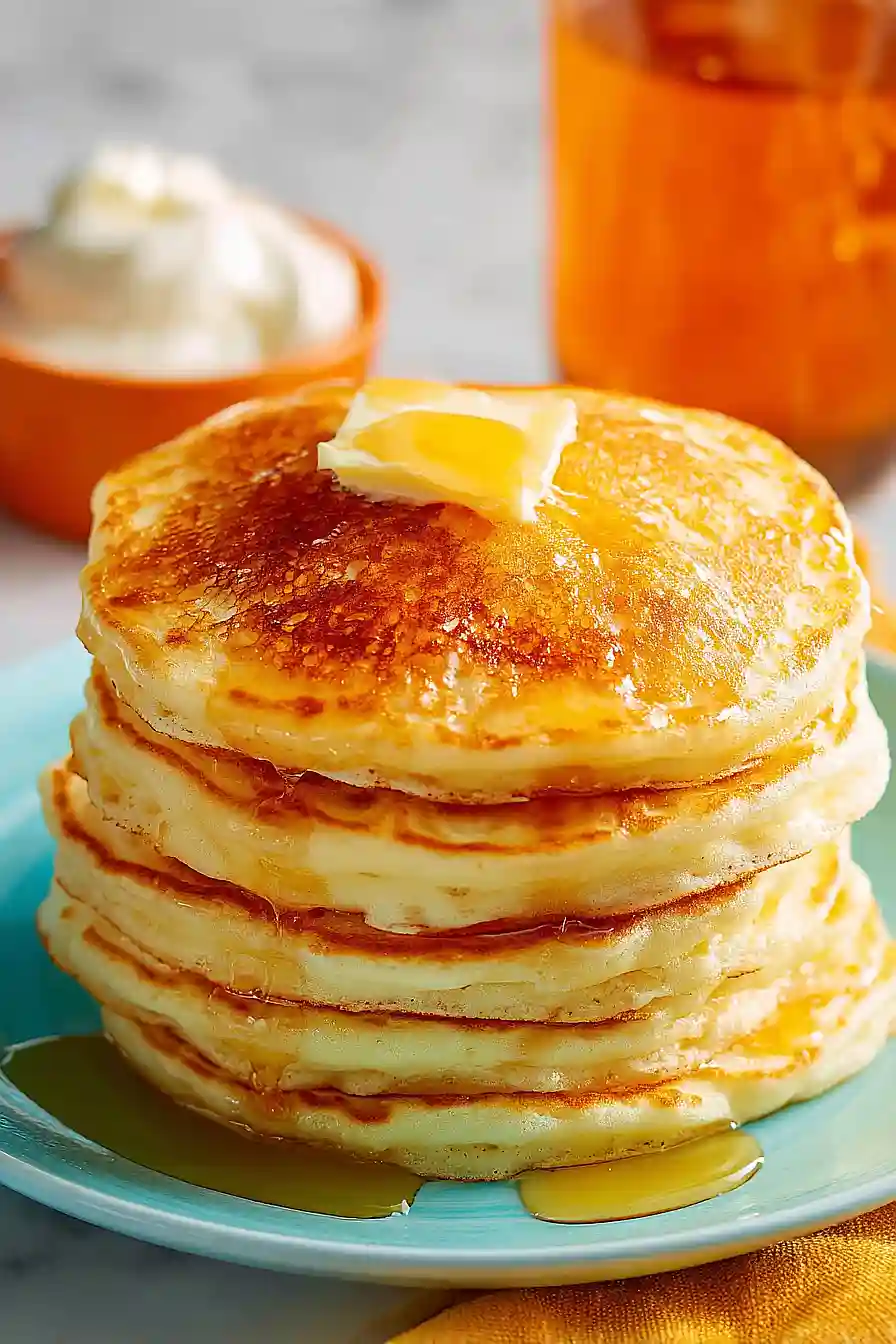
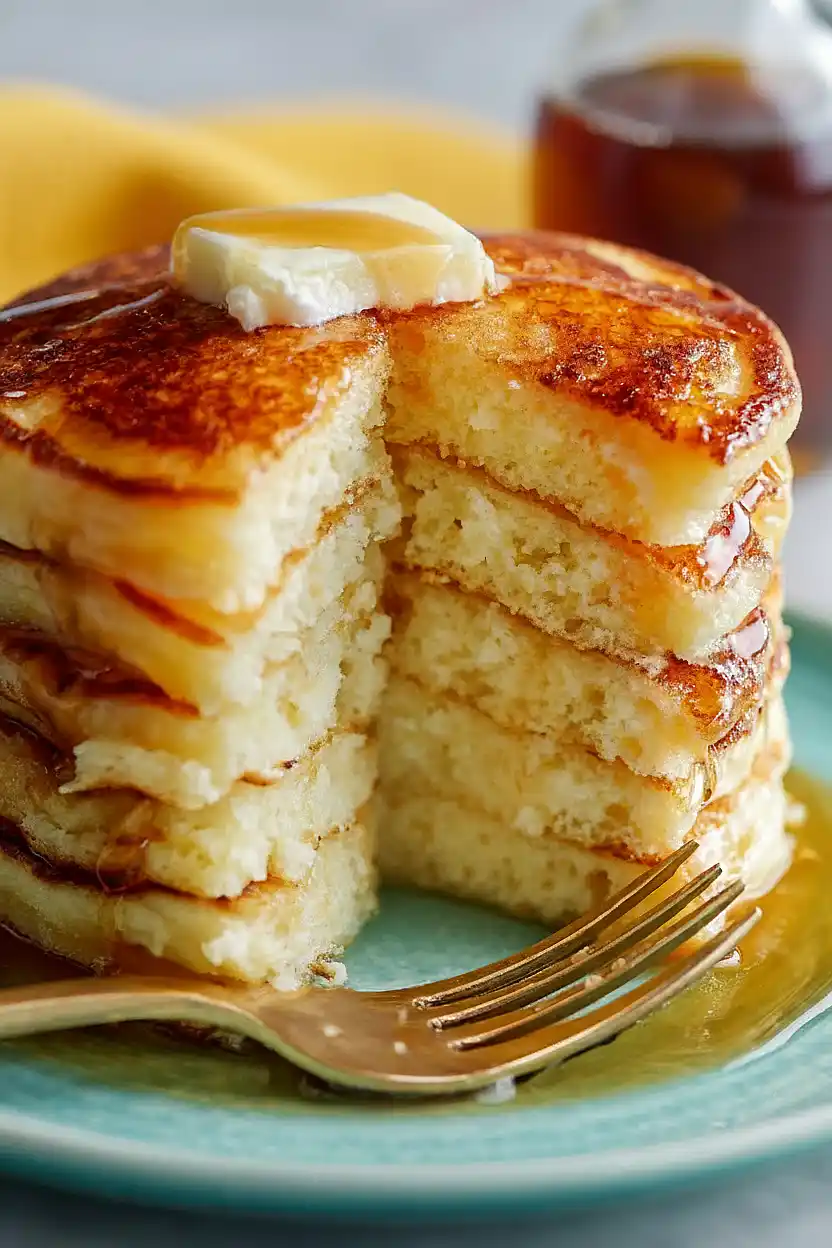
- Extra fluffy texture – The Greek yogurt creates incredibly light and fluffy pancakes that are way better than the boxed mix.
- High in protein – With Greek yogurt and eggs, these pancakes pack more protein than regular pancakes, keeping you full longer throughout the morning.
- Quick breakfast – Ready in under 30 minutes, these are perfect for busy weekday mornings or lazy weekend brunches.
- Simple pantry ingredients – You probably already have everything you need in your kitchen right now.
What Kind of Greek Yogurt Should I Use?
For these pancakes, full-fat Greek yogurt will give you the richest flavor and fluffiest texture, but low-fat or even fat-free versions work just fine if that’s what you have on hand. Plain Greek yogurt is what you want here – save the flavored varieties for your breakfast bowl since added sugars can throw off the balance of the recipe. If your Greek yogurt seems really thick and hard to stir, don’t worry – it’ll mix in perfectly once you combine it with the milk and eggs. And if you only have regular yogurt instead of Greek, you can use it too, though your batter might be slightly thinner.
Options for Substitutions
These pancakes are pretty forgiving when it comes to swapping ingredients:
- Greek yogurt: Regular yogurt works just fine here – you might just get slightly thinner pancakes. Sour cream is another great option that gives you that same tangy flavor and fluffy texture.
- All-purpose flour: You can use whole wheat flour for a heartier pancake, but swap only half the amount to start since it makes them denser. For gluten-free, try a 1-to-1 baking flour blend.
- Milk: Any milk works here – dairy, almond, oat, or soy. If your batter seems too thick, just add a splash more until you get a pourable consistency.
- Butter: Melted coconut oil or vegetable oil can replace the butter in equal amounts. Just make sure it’s cooled slightly before mixing into the batter.
- Sugar: Honey or maple syrup can replace the sugar – use 2 tablespoons and reduce the milk by about 1 tablespoon to balance the extra liquid.
- Baking powder and baking soda: Don’t substitute these – they’re what makes your pancakes fluffy and light. The combination is key to getting that perfect rise.
Watch Out for These Mistakes While Cooking
The biggest mistake people make with Greek yogurt pancakes is overmixing the batter, which develops too much gluten and creates tough, rubbery pancakes instead of fluffy ones – stop stirring as soon as the flour is just incorporated, even if you see a few lumps.
Skipping the 10-minute rest period is another common error that leads to dense pancakes, since this time allows the baking powder and baking soda to activate and the flour to fully hydrate.
Cooking over high heat might seem like a time-saver, but it burns the outside while leaving the inside undercooked, so stick with medium-low heat and be patient.
Finally, make sure your melted butter has cooled down before adding it to the batter – hot butter can scramble the eggs and create an uneven texture that nobody wants in their pancakes.
What to Serve With Greek Yogurt Pancakes?
These fluffy pancakes are perfect with fresh berries like blueberries, strawberries, or raspberries piled on top, plus a drizzle of maple syrup or honey. I love adding a dollop of extra Greek yogurt on the side for even more creaminess, and it pairs nicely with the sweetness of the pancakes. For a complete breakfast spread, serve them alongside crispy bacon or breakfast sausage, and maybe some scrambled eggs if you’re feeding a crowd. You could also try topping them with sliced bananas and a sprinkle of cinnamon, or go the indulgent route with chocolate chips and whipped cream for a weekend treat.
Storage Instructions
Store: Leftover pancakes keep really well in the fridge for up to 5 days. Just stack them with a piece of parchment paper between each one and pop them in an airtight container or zip-top bag. They make breakfast so easy during busy mornings!
Freeze: These pancakes are perfect for freezing. Let them cool completely, then layer them with parchment paper in a freezer bag and freeze for up to 3 months. I love making a double batch on the weekend so I always have some ready to go.
Reheat: You can warm up your pancakes in the microwave for about 20-30 seconds, or pop them in the toaster for a minute or two if you want them a bit crispy on the outside. From frozen, just add an extra 30 seconds or toast them straight from the freezer.
| Preparation Time | 10-15 minutes |
| Cooking Time | 15-30 minutes |
| Total Time | 25-45 minutes |
| Level of Difficulty | Easy |
| Servings | 4 servings |
Estimated Nutrition
Estimated nutrition for the whole recipe (without optional ingredients):
- Calories: 1250-1400
- Protein: 32-38 g
- Fat: 32-38 g
- Carbohydrates: 200-220 g
Ingredients
For the wet base:
- 1.25 cups yogurt (I prefer FAGE Total 5% for a thicker, richer batter)
- 0.85 cup milk
- 2 eggs (room temperature, about 70°F helps the batter rise)
- 1.5 tsp vanilla
- 2.5 tbsp butter (melted and cooled to room temperature)
For the dry mix:
- 1.5 cups flour (I always use King Arthur all-purpose flour)
- 3 tbsp sugar
- 2 tsp baking powder
- 0.75 tsp baking soda
- 0.75 tsp salt
- 0.25 tsp ground nutmeg
Step 1: Melt Butter and Combine Wet Ingredients
- 2.5 tbsp butter
- 1.25 cups yogurt
- 0.85 cup milk
- 2 eggs
- 1.5 tsp vanilla
Start by melting the butter in a small saucepan or microwave, then set it aside to cool to room temperature—this prevents the eggs from scrambling when combined.
While the butter cools, add the yogurt, milk, eggs, and vanilla to a large mixing bowl.
Whisk these wet ingredients together until well combined and smooth.
Room temperature eggs will help the batter rise better and create fluffier pancakes.
Step 2: Mix Dry Ingredients Separately
- 1.5 cups flour
- 3 tbsp sugar
- 2 tsp baking powder
- 0.75 tsp baking soda
- 0.75 tsp salt
- 0.25 tsp ground nutmeg
In a separate bowl, whisk together the flour, sugar, baking powder, baking soda, salt, and nutmeg.
This ensures the leavening agents are evenly distributed throughout the batter, which guarantees consistent rise and texture in every pancake.
I always sift or whisk my dry ingredients when using baking powder and baking soda to avoid lumps.
Step 3: Combine Wet and Dry Ingredients
- wet ingredient mixture from Step 1
- dry ingredient mixture from Step 2
Pour the cooled melted butter into the wet ingredient mixture from Step 1 and stir gently.
Add the dry ingredient mixture from Step 2 to the wet ingredients and stir until the flour is just incorporated—some small lumps are fine and actually desirable.
Overmixing develops gluten, which makes pancakes tough and dense rather than light and fluffy.
Step 4: Rest the Batter
- batter from Step 3
Let the batter rest for 10 minutes at room temperature.
During this time, the baking powder and baking soda begin activating, and the flour fully hydrates, which results in better texture and rise when cooking.
While waiting, preheat your griddle or nonstick skillet over medium-low heat.
Step 5: Cook the Pancakes
- batter from Step 3
Pour 1/3 to 1/2 cup of batter onto the preheated medium-low heat surface for each pancake.
Cook for 2-3 minutes until bubbles form on the surface and the edges look set, then flip carefully.
Cook the second side for another 2-3 minutes until golden brown.
Medium-low heat prevents the outside from browning too quickly before the inside cooks through.
Step 6: Serve Immediately
Transfer the cooked pancakes to a serving plate and serve warm with your choice of toppings.
Greek yogurt pancakes are best enjoyed fresh off the pan while they’re still fluffy.
Classic One Bowl Greek Yogurt Pancakes
Ingredients
Method
- Start by melting the butter in a small saucepan or microwave, then set it aside to cool to room temperature—this prevents the eggs from scrambling when combined. While the butter cools, add the yogurt, milk, eggs, and vanilla to a large mixing bowl. Whisk these wet ingredients together until well combined and smooth. Room temperature eggs will help the batter rise better and create fluffier pancakes.
- In a separate bowl, whisk together the flour, sugar, baking powder, baking soda, salt, and nutmeg. This ensures the leavening agents are evenly distributed throughout the batter, which guarantees consistent rise and texture in every pancake. I always sift or whisk my dry ingredients when using baking powder and baking soda to avoid lumps.
- Pour the cooled melted butter into the wet ingredient mixture from Step 1 and stir gently. Add the dry ingredient mixture from Step 2 to the wet ingredients and stir until the flour is just incorporated—some small lumps are fine and actually desirable. Overmixing develops gluten, which makes pancakes tough and dense rather than light and fluffy.
- Let the batter rest for 10 minutes at room temperature. During this time, the baking powder and baking soda begin activating, and the flour fully hydrates, which results in better texture and rise when cooking. While waiting, preheat your griddle or nonstick skillet over medium-low heat.
- Pour 1/3 to 1/2 cup of batter onto the preheated medium-low heat surface for each pancake. Cook for 2-3 minutes until bubbles form on the surface and the edges look set, then flip carefully. Cook the second side for another 2-3 minutes until golden brown. Medium-low heat prevents the outside from browning too quickly before the inside cooks through.
- Transfer the cooked pancakes to a serving plate and serve warm with your choice of toppings. Greek yogurt pancakes are best enjoyed fresh off the pan while they're still fluffy.