I grew up thinking tuna pasta salad was that sad-looking dish at potlucks that nobody touched until the very end. You know the one—dry pasta, a can of tuna, and not much else going on. It wasn’t until I started making it myself that I realized the problem wasn’t the dish, it was just that nobody was making it right.
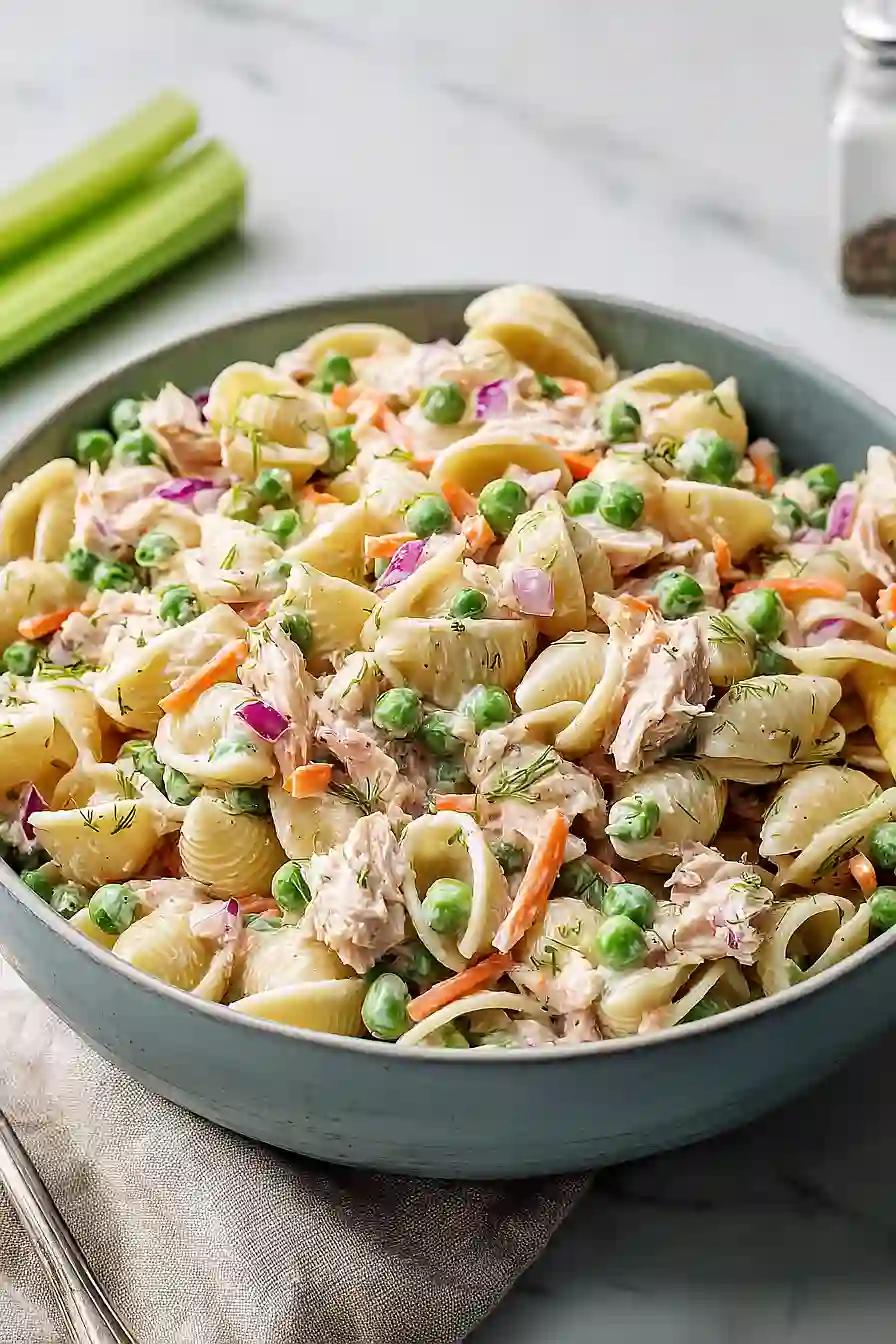
A good tuna pasta salad needs a creamy, tangy dressing that actually coats everything, plus enough mix-ins to make it interesting. We’re talking crunchy celery, sweet peas, and fresh veggies that give every bite some texture. When you get the ratios right, this becomes the kind of thing people actually go back for seconds of. It’s perfect for summer picnics, easy weeknight dinners, or meal prep for the week ahead.
Why You’ll Love This Tuna Pasta Salad
- Quick and easy – This recipe comes together in under 30 minutes, making it perfect for busy weeknights or last-minute potluck invitations.
- Budget-friendly – Using canned tuna and pantry staples, this is an affordable meal that won’t break the bank but still tastes great.
- Make-ahead friendly – You can prepare this pasta salad in advance and keep it in the fridge, making it ideal for meal prep or bringing to gatherings.
- Protein-packed – The tuna and peas provide a good amount of protein to keep you satisfied, whether you’re having it for lunch or dinner.
- Crowd-pleaser – This classic combination of creamy dressing, tender pasta, and crunchy veggies is always a hit at picnics, barbecues, and family dinners.
What Kind of Tuna Should I Use?
You’ll notice the recipe calls for either oil-packed or water-packed tuna, and honestly, both work great in pasta salad. Oil-packed tuna tends to be a bit more flavorful and moist, while water-packed is lighter and lets the other ingredients shine through more. If you’re watching calories, go with water-packed, but if you want a richer taste, oil-packed is the way to go. Whichever you choose, make sure to drain it really well before adding it to your salad – nobody wants a soggy pasta salad sitting at the bottom of the bowl.
Options for Substitutions
This pasta salad is pretty forgiving, so feel free to make a few swaps based on what you have:
- Pasta shape: Small shells and elbow macaroni work great, but you can use rotini, bow ties, or even penne. Just stick with a smaller pasta shape that can hold onto the dressing.
- Tuna: Canned salmon or even cooked chicken breast make good alternatives if you’re not a tuna fan. For a vegetarian version, try chickpeas – just rinse and drain them well.
- Mayonnaise: You can use Greek yogurt for half or all of the mayo to lighten things up. If going full Greek yogurt, you might want to add a touch more vinegar to keep that tangy flavor.
- Dijon mustard: Regular yellow mustard works fine here – just use a bit less since it’s milder than Dijon.
- Dried dill: Fresh dill is even better if you have it – use about 1 tablespoon of chopped fresh dill instead of the dried.
- Frozen peas: Swap these with corn, diced bell peppers, or cherry tomatoes if you prefer. No need to thaw other vegetables beforehand.
- Distilled white vinegar: Apple cider vinegar or lemon juice both work well as substitutes and add a nice brightness to the salad.
Watch Out for These Mistakes While Cooking
The biggest mistake people make with pasta salad is not rinsing the cooked pasta with cold water, which stops the cooking process and prevents the noodles from turning mushy and clumping together.
Skipping the chilling time is another common error – this salad really needs at least 30 minutes in the fridge for the flavors to come together and the dressing to properly coat everything.
Make sure you drain your tuna really well by pressing it with a fork or paper towel, otherwise excess liquid will water down your dressing and make the whole salad taste bland.
For the best texture, add the peas while they’re still slightly firm rather than completely thawed and soft, and if your pasta salad seems dry after chilling, stir in an extra tablespoon or two of mayo since the noodles absorb dressing as they sit.
What to Serve With Tuna Pasta Salad?
Tuna pasta salad is one of those dishes that’s perfect for picnics, potlucks, or an easy lunch at home, and it pairs well with just about anything light and fresh. I love serving it alongside some sliced tomatoes with a sprinkle of salt and pepper, or a simple cucumber salad with a little vinegar and dill. If you’re feeding a crowd, set out some crackers, chips, or pita bread on the side for scooping. For a heartier meal, add some fresh fruit like watermelon or grapes, which give a nice sweet contrast to the creamy, savory pasta salad.
Storage Instructions
Store: This tuna pasta salad actually gets better after sitting in the fridge for a few hours, so it’s perfect for making ahead! Keep it in an airtight container in the refrigerator for up to 3 days. The flavors really meld together nicely overnight, making it a great option for meal prep or potlucks.
Refresh: Sometimes the pasta absorbs the dressing as it sits, so your salad might look a little dry after a day or two. Just stir in a tablespoon or two of mayo to bring it back to life before serving. You can also add a splash of vinegar if you want to brighten up the flavors.
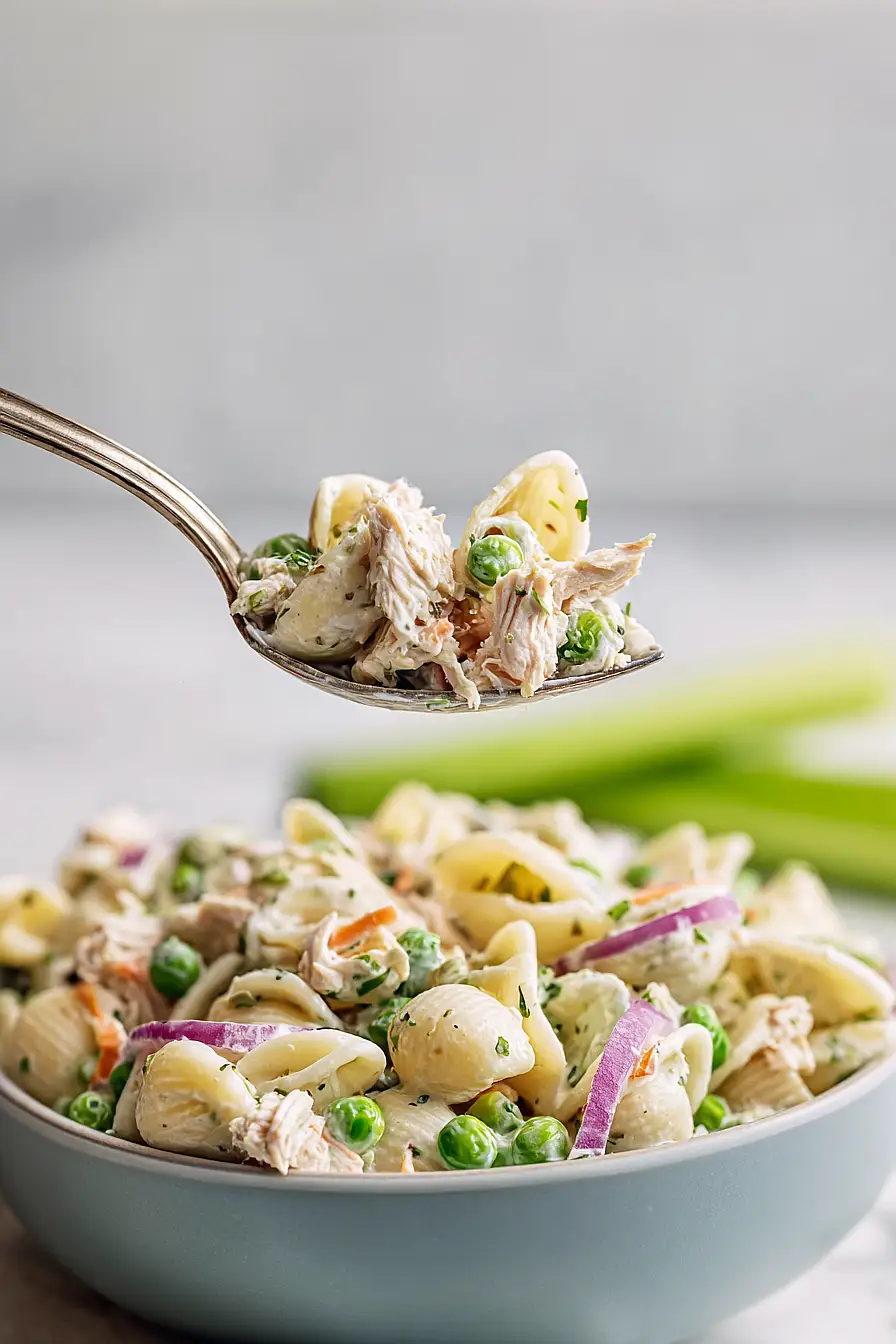
Serve: This salad is best enjoyed cold straight from the fridge. Give it a good stir before serving since the ingredients can settle. If you’re taking it to a picnic or party, keep it in a cooler with ice packs since mayo-based salads need to stay chilled.
| Preparation Time | 15-20 minutes |
| Cooking Time | 10-15 minutes |
| Total Time | 25-35 minutes |
| Level of Difficulty | Easy |
| Servings | 8 servings |
Estimated Nutrition
Estimated nutrition for the whole recipe (without optional ingredients):
- Calories: 2400-2600
- Protein: 85-95 g
- Fat: 120-135 g
- Carbohydrates: 250-270 g
Ingredients
For the dressing:
- 1 1/4 cups mayonnaise
- 1 1/2 tbsp mustard
- 2 1/2 tbsp vinegar
- 1/2 tbsp fresh lemon juice
- 1 1/2 tsp dill
- 1 1/2 tsp garlic powder
- 3/4 tsp onion powder
- 1/2 tsp salt
- 1/2 tsp black pepper
- 1/4 tsp sugar
For the salad:
- 12 oz pasta
- 10 oz tuna (drained and flaked)
- 1 1/2 cups peas
- 1 cup celery (diced)
- 1/2 cup red onion (finely minced)
- 1/2 cup carrots (shredded or grated)
Step 1: Prepare the Dressing Base
- 1 1/4 cups mayonnaise
- 1 1/2 tbsp mustard
- 2 1/2 tbsp vinegar
- 1/2 tbsp fresh lemon juice
- 1 1/2 tsp dill
- 1 1/2 tsp garlic powder
- 3/4 tsp onion powder
- 1/2 tsp salt
- 1/2 tsp black pepper
- 1/4 tsp sugar
In a large bowl, whisk together the mayonnaise, mustard, vinegar, lemon juice, dill, garlic powder, onion powder, salt, pepper, and sugar until fully combined and smooth.
This creates your flavor foundation—I like to taste a small spoonful at this stage to ensure the balance of tangy, savory, and herbaceous flavors feels right to you before adding the other ingredients.
Step 2: Cook and Cool the Pasta
- 12 oz pasta
Bring a large pot of salted water to a boil and cook the pasta according to package directions until just al dente.
Drain the pasta thoroughly, then rinse it under cold running water until completely cooled—this stops the cooking process and prevents the pasta from becoming mushy when mixed with the creamy dressing.
Make sure to drain well so excess water doesn’t dilute your dressing.
Step 3: Prepare the Fresh Vegetables
- 1 cup celery
- 1/2 cup red onion
- 1/2 cup carrots
While the pasta cooks, dice the celery into small, uniform pieces, finely mince the red onion, and shred or grate the carrots.
Having all your vegetables prepped and ready ensures the assembly step moves smoothly and helps the flavors distribute evenly throughout the salad.
Step 4: Assemble the Salad
- dressing mixture from Step 1
- cooked pasta from Step 2
- 10 oz tuna
- 1 1/2 cups peas
- fresh vegetables from Step 3
Add the cooled pasta from Step 2, flaked tuna, peas, and the fresh vegetables from Step 3 to the dressing base from Step 1.
Using a large spoon or spatula, gently fold everything together until all components are evenly coated with the creamy dressing.
I find that folding rather than stirring vigorously helps keep the tuna in larger, more appealing pieces instead of breaking it into tiny bits.
Step 5: Chill and Serve
Transfer the salad to a serving bowl or storage container and refrigerate for at least 30 minutes before serving.
This chilling time allows the flavors to meld together and creates a more pleasant eating temperature.
The salad actually tastes better the next day as the flavors continue to develop, so feel free to make it ahead.
Perfect Tuna Pasta Salad
Ingredients
Method
- In a large bowl, whisk together the mayonnaise, mustard, vinegar, lemon juice, dill, garlic powder, onion powder, salt, pepper, and sugar until fully combined and smooth. This creates your flavor foundation—I like to taste a small spoonful at this stage to ensure the balance of tangy, savory, and herbaceous flavors feels right to you before adding the other ingredients.
- Bring a large pot of salted water to a boil and cook the pasta according to package directions until just al dente. Drain the pasta thoroughly, then rinse it under cold running water until completely cooled—this stops the cooking process and prevents the pasta from becoming mushy when mixed with the creamy dressing. Make sure to drain well so excess water doesn't dilute your dressing.
- While the pasta cooks, dice the celery into small, uniform pieces, finely mince the red onion, and shred or grate the carrots. Having all your vegetables prepped and ready ensures the assembly step moves smoothly and helps the flavors distribute evenly throughout the salad.
- Add the cooled pasta from Step 2, flaked tuna, peas, and the fresh vegetables from Step 3 to the dressing base from Step 1. Using a large spoon or spatula, gently fold everything together until all components are evenly coated with the creamy dressing. I find that folding rather than stirring vigorously helps keep the tuna in larger, more appealing pieces instead of breaking it into tiny bits.
- Transfer the salad to a serving bowl or storage container and refrigerate for at least 30 minutes before serving. This chilling time allows the flavors to meld together and creates a more pleasant eating temperature. The salad actually tastes better the next day as the flavors continue to develop, so feel free to make it ahead.